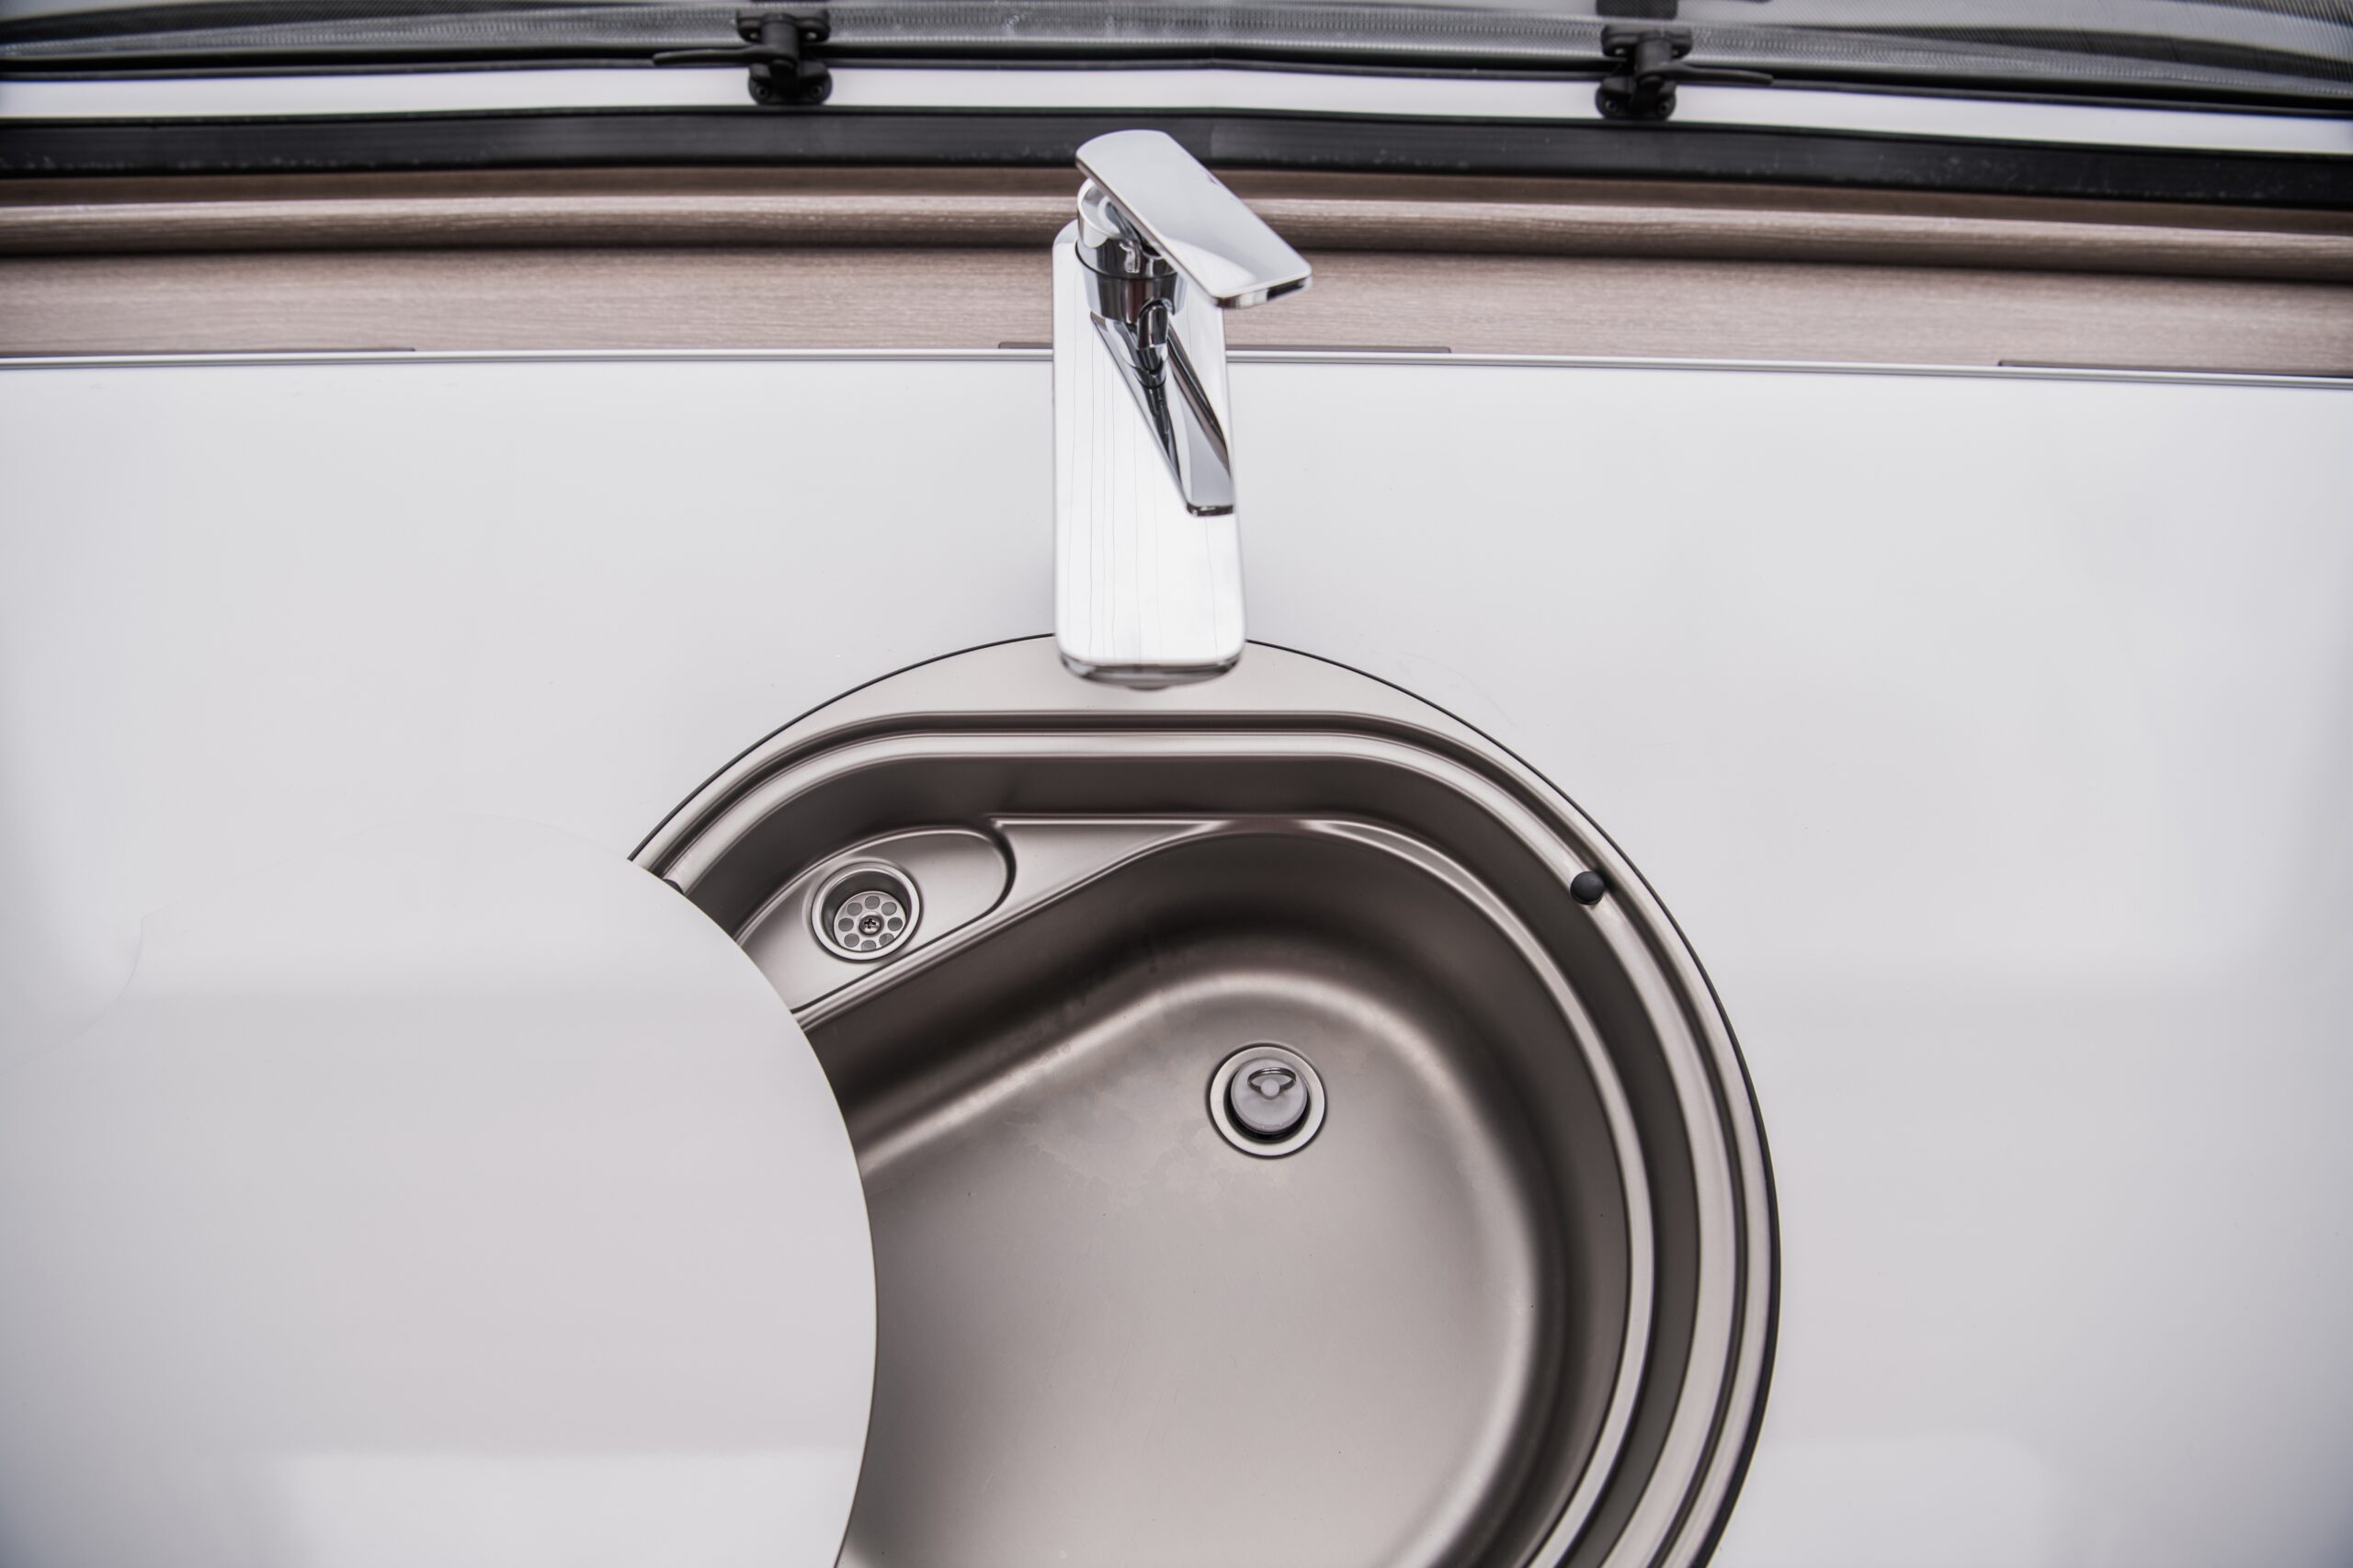
RVs typically come with plastic faucets, which can be not only an eyesore but also a liability, as they can often leak after just a few months of use due to cracking. A regular metal faucet is much more durable, better looking, and for many, preferable.
You can put a regular faucet in an RV, sometimes without and sometimes with a few adapters to connect the faucet to the RV’s plumbing system. The installation process is fairly simple as long as you have the essential parts.
This article will discuss regular faucets and RV faucets and provide instructions for installing a regular faucet into an RV.
Keep in mind, in your rig it may be as simple as swapping out the faucet, with no extra steps or hardware. That’s how our rig is.
However, there are a few that may require some additional adapters or fittings and those are the ones we will be primarily addressing in this article.
The Difference Between an RV Faucet and a Regular Faucet
A faucet built for an RV comes with connectors that connect with the standard plumbing system of an RV. and are typically made out of cheap plastic.
They connect to flexible hoses, where a regular faucet is built with metal connectors threaded to fit into metal pipes and hose adapters. This doesn’t mean that you can’t use a regular faucet in an RV, but it does mean that it can require some handiwork.
RV tubing is smaller than the pipes in a house so that it doesn’t need as much pressure to circulate water, hence the need for different connectors.
A faucet built for an RV is also likely to be more lightweight than a standard faucet because it’s more likely to be made from plastic than metal. The function of these is the same, but a plastic faucet will likely leak more.
Adapting a Regular Faucet for the RV
You can find adapters to fit your regular sink fixtures and connect them to your RV plumbing system at RV specialty stores and online. Besides this, the installation is the same as you would at home. This includes the spacing between hole cutouts and how the faucet is secured to the sink.
In order to attach these adapters, you will also need a silicone sealant and Teflon tape, wrenches of various sizes, and some time.
Once you have the equipment necessary, follow these steps to install a regular faucet in your RV:
- Turn off the water main.
- Remove the input connections to the old faucet with a wrench.
- Loosen the plastic nut underneath the faucet with a large wrench.
- Pull the old faucet out. This may take some force.
- Scrape off any residue from old silicone or plumber’s putty.
- Wrap Teflon tape on the faucet connector, right on the treads.
- Insert the new faucet, lining up the holes in the sink.
- Place silicone or plumber’s putty on the faucet to prevent leaks.
- Secure the attachment nuts under the sink.
- Connect the hot and cold input tubing with wrenches, adding Teflon tape if desired.
- Connect the output tubing.
- Turn on the water main to check for leaks.
For a demonstration of a regular faucet installation into an RV, see the following video:
RV Faucets
Most RV faucets are made to be as lightweight as possible and may be made of plastic or acrylic. They function the same as a regular metal faucet but can feel weird, and the knobs may be hard to grip with wet hands. Plastic faucets are also more prone to leaking than metal faucets, usually after about a month of regular use.
However, RV faucets are built with the right size, appropriate connectors for an RV plumbing system, which means they are easier to install. RV faucets and regular faucets will both use the smaller tubing, resulting in lower usage of water pressure.
How a Faucet Works With Plumbing Pipes or Hoses
Whether you’re using the water system in an RV or in a home, the way that the faucet connects to and makes use of the water is very similar.
A plumbing system is made of two systems to start with the basics. One for water coming into the home or RV and one for water that’s leaving.
The freshwater coming in needs to be pressurized in order to make its way around corners, upstairs, or anywhere else that requires the water to go against gravity.
When you turn on the faucet, this water rushes through the open valve to exit the freshwater system. If you’re using hot water, the water will come from a separate input line from the water heater, which in turn takes water from the main water line. Though there are many kinds of water heaters, they all perform this same basic function.
The wastewater collected by a sink, bath, or toilet is flushed through a drainage system that relies on gravity to create water pressure. This water continues in a flow down to a septic tank or sewage treatment facility.
What’s more, these drainage pipes contain a series of traps that collect small amounts of water to prevent gas from the sewer from entering the pipes.
Kitchen sinks may also have grease traps that prevent clogging from grease buildup, and bathtubs may have special drain traps to prevent clogging from hair.
Any time you’re replacing a faucet or other fixture, it’s important to shut off the main water line to prevent leaks, unless your fixture has its own shutoff valve that can be turned off instead of the mainline.
Plumbing in an RV
Plumbing in an RV is essentially a system of tubes, small in diameter, so that you need less water pressure to circulate water through the RV. The system isn’t that different from home plumbing.
The Water Main
First, you have a water input line that feeds water into the RV. This can either be attached to a city water line or a freshwater tank that you fill periodically. A freshwater tank will be connected to a water pump that creates water pressure, like what you’d find in city water.

In either case, it’s a good idea to install a water filter like the Camco EVO model to keep bacteria and debris out of your water supply.
Turning off your pump or connection to a city water line while you’re away from the RV is a good idea, as a leak can quickly cause major issues in an RV. Here’s a solid guide on RV tank maintenance.
- The grey water tank is where the wastewater from the sinks, kitchen drain, and shower drain, and has a valve that can be opened and closed for draining. The tank has a low point to help it drain quickly, as well as a vent that prevents too much odor.
- The black water tank collects wastewater only from the toilet and also has its valve for emptying the tank. The black water tank also has a connection to the main water line, with a valve that can be opened and closed for a water rinse after draining.
- Emptying the tanks. How often to empty the tanks depends on how many people are using the RV and for how long. For a small group of two, you’ll likely only need to change the tanks once per week, whereas a larger group might require emptying every other day. Usually, you can check the levels of your tanks and empty them once they reach two-thirds full to be safe.
However, not all tanks come with a water reader, and sometimes the sensors malfunction. It’s a good idea to find out how big your tanks are and how much use they can tolerate before needing to be emptied.
Emptying the tanks is a fairly simple process and involves connecting a sewer hose to your output valves and to a drainage site. Start with the black tank, then the grey, opening the valve only once the hose is connected and shutting it completely before removing the hose.
Conclusion
A regular faucet can work well in an RV, but you will need to purchase special adapters to make the faucet connectors fit into the RV plumbing hoses. Besides that, the installation process for a regular faucet is very similar to installing an RV faucet.


One Response
What is this adapter for house bath room faucet to rv faucet