Over time, RVs can become damaged due to wear and tear if not properly maintained and may result in parts needing to be repaired or replaced.
Oftentimes, for this reason, the roof of an RV may need to be replaced; but is it possible to replace just part of your RV roof?
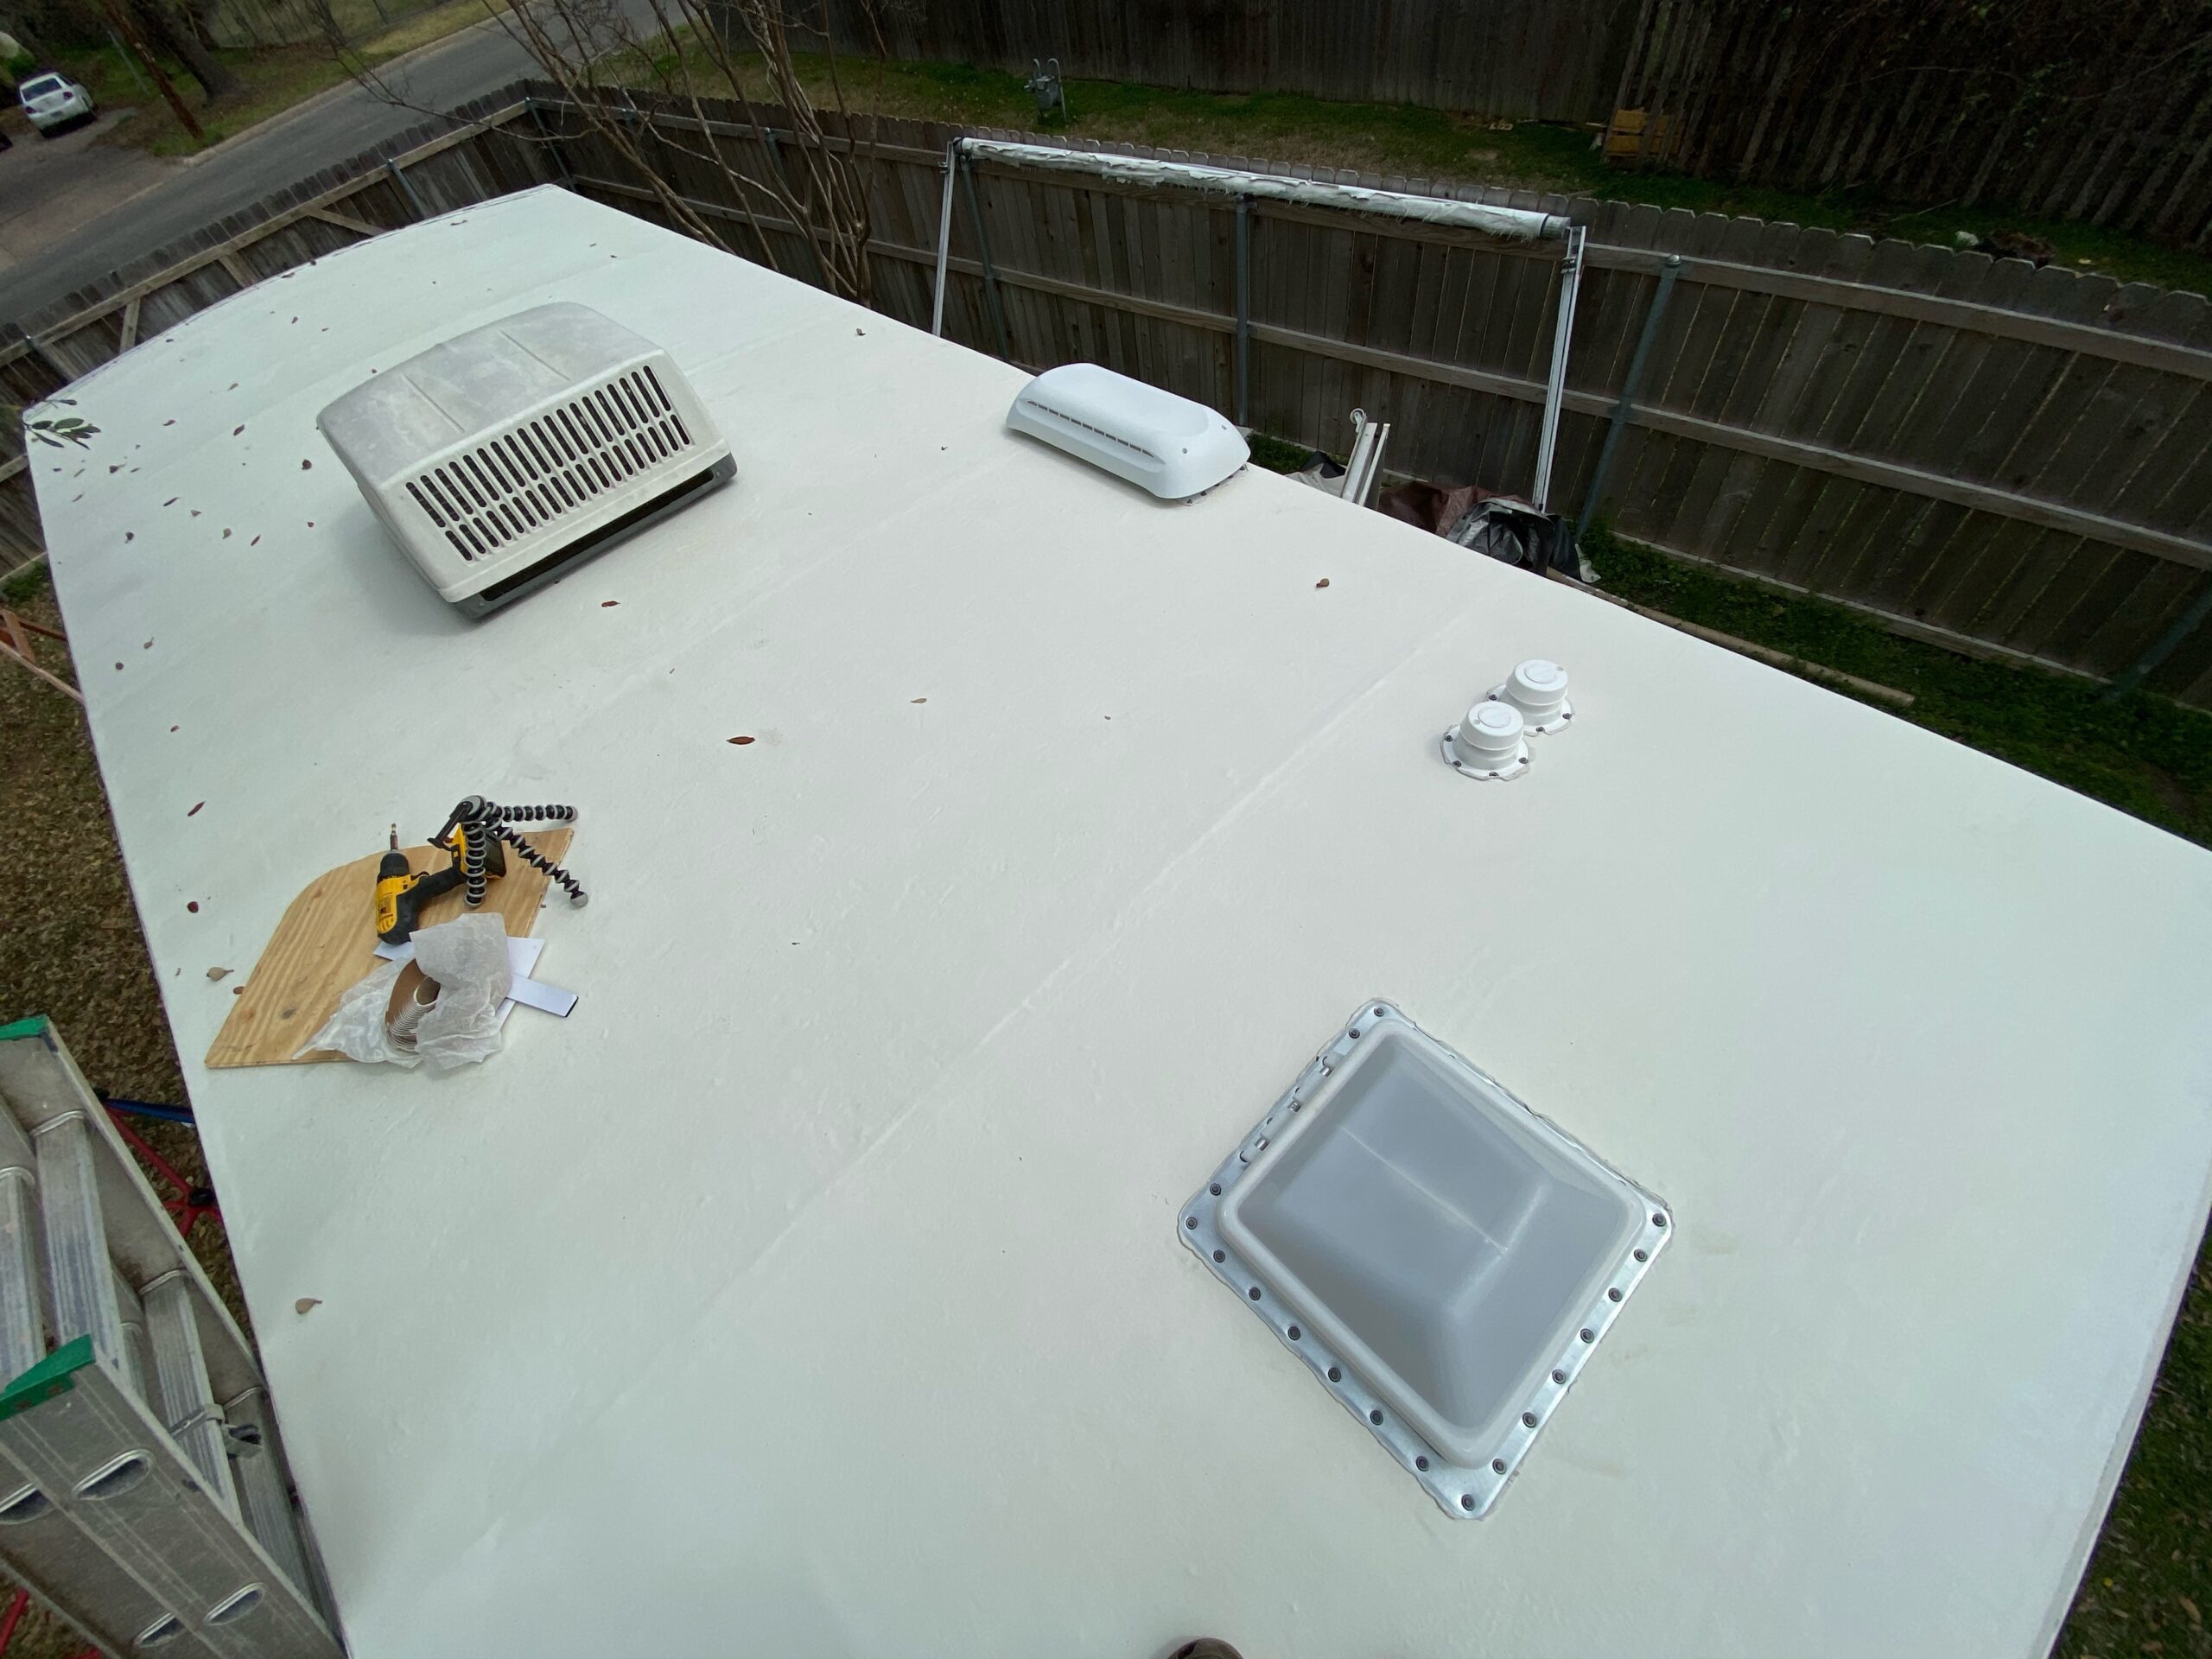
You can replace just part of your RV roof. RV roofs are typically structured in 3 layers. The innermost layer is styrofoam; on top of that is plywood; and lastly, there is rubber. The most important thing to consider when changing part of your RV roof is sealing it properly to prevent water damage.
The following article will go over how to replace an RV roof and the tools and materials which will be required to do so.
We will also discuss the different types of RV roofs.
Lastly, this article will go over a few safety precautions and words of advice when replacing your RV roof in order to ensure your RV keeps supplying you with fond memories for years to come.
What to Do Before Fixing Your RV’s Roof
In order to repair or replace your RV roof, you will first need to prepare the roof by removing the top layer, or outer shell.
To do this, it will be necessary to remove all brackets, bars, and fasteners, which are securing it in place, so that it may be totally freed.
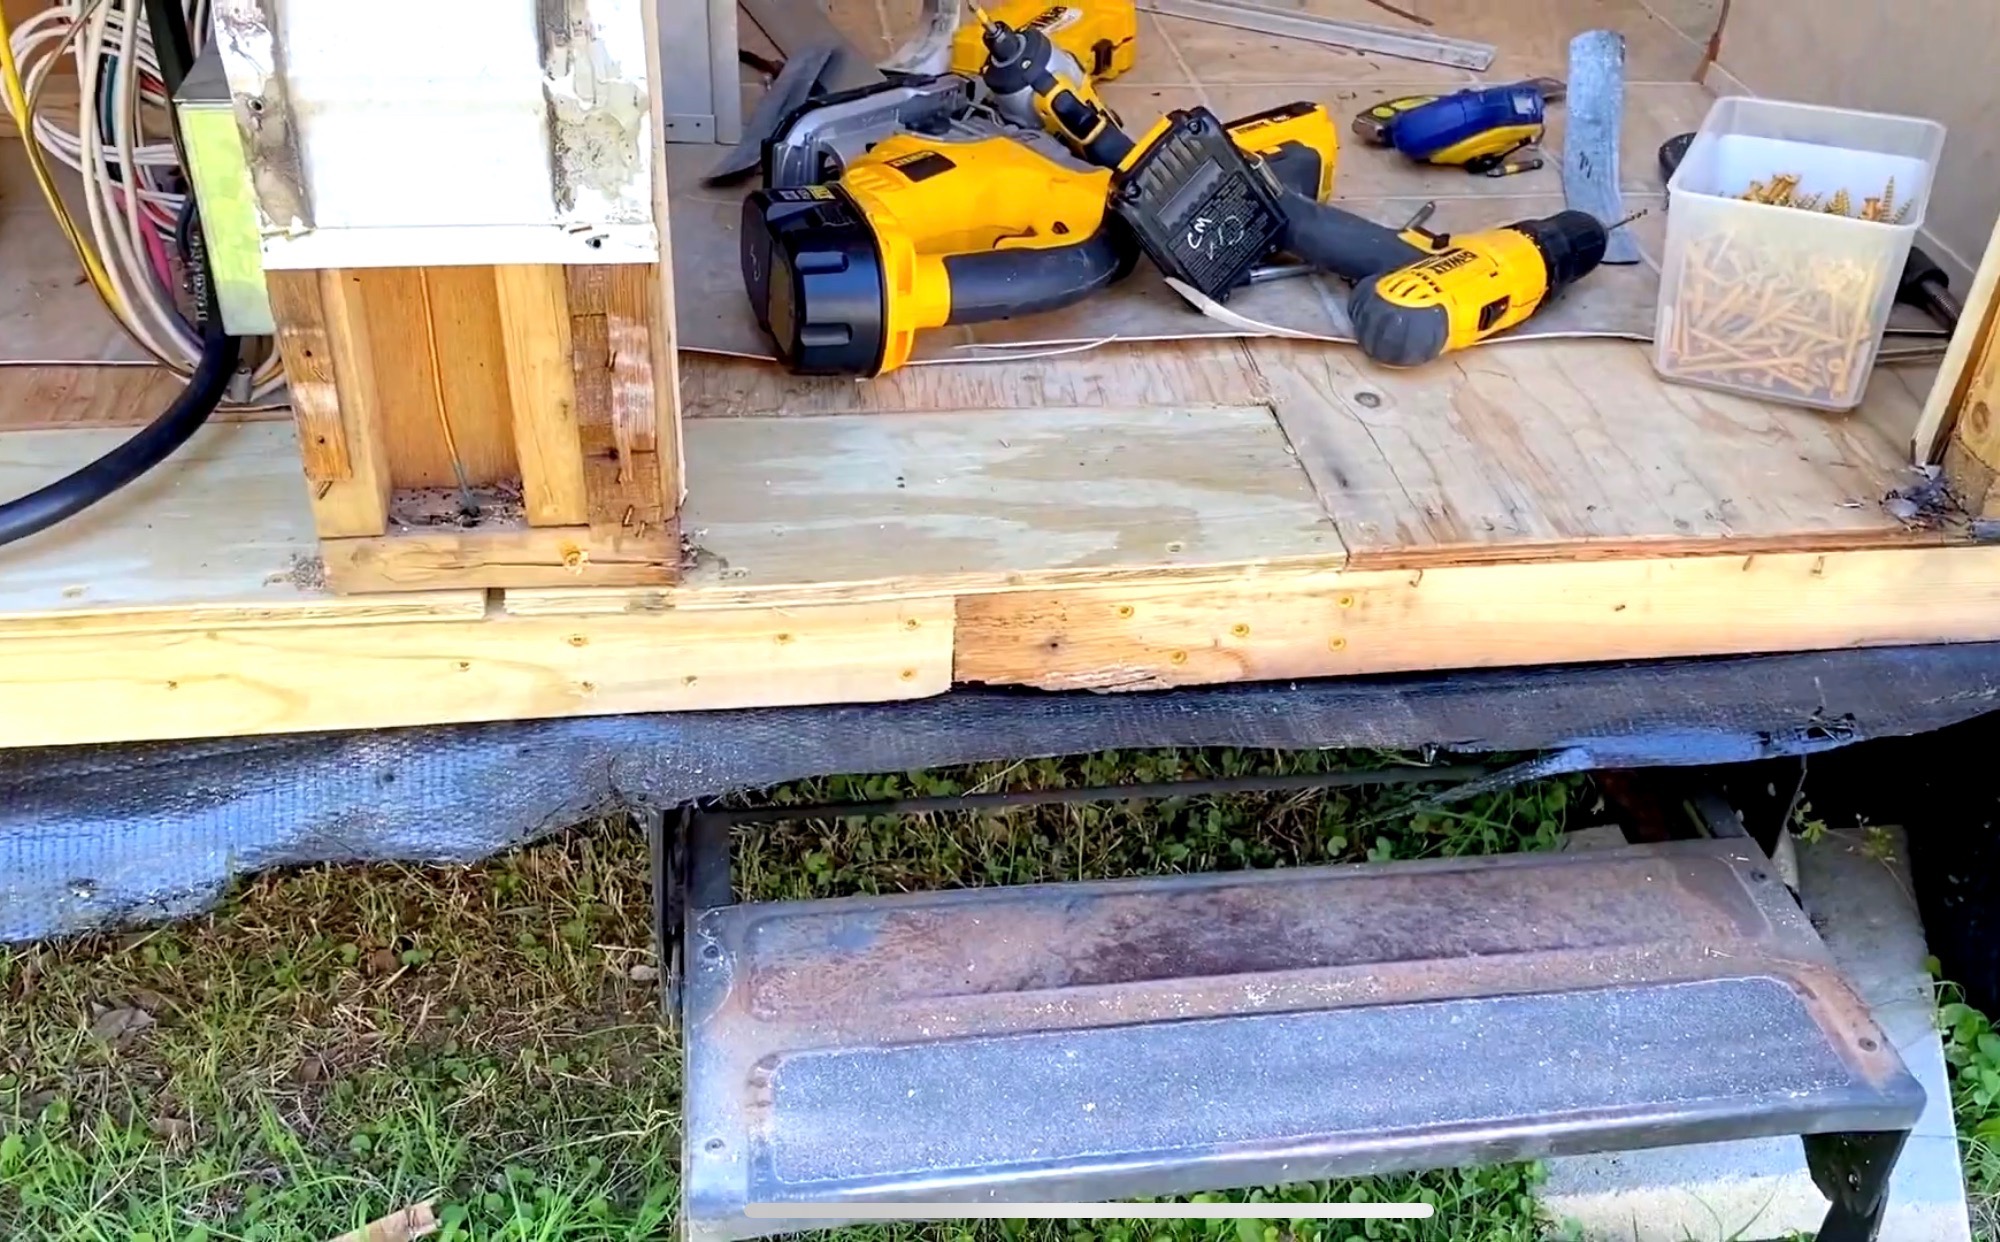
Next, you will need to remove the wooden panel in the area or areas which require repair.
Be gentle and conscientious when doing this so as not to damage the underlying styrofoam layer (if it has it), which it rests upon.
Continue removing all waste, wooden panels from the roof of your RV, and sand down any rough, jagged materials in order to smooth all surfaces.
This will create a clean surface, ideal for placing your new wood panel down, and will also allow it to go in flush, eliminating all unevenness and gaps.
At this point, you are ready to begin laying your new roof.
How to Replace Your RV’s Roof
With your roof now having been prepared, all the problem wood has been removed, and the debris has been cleaned up, it is time to begin measuring.
Start Measuring
Measure the length and width of the area which you will be replacing, and cut the new wood panel accordingly.
You will want your piece to fit in tight and snug, so take your time and cut it to size.
Having your new wood panel fit tightly will increase its integrity and create a better defense against damage caused by the elements.
It is also crucial that you measure and cut out holes in your wooden panel if they are to be laid over the top of openings in your RV roof, such as vents and fans.
Do not bury these under your new roof.
Now that you have your new panel cut and measured, you may fit it into position and begin screwing it down.
Place a screw roughly every 5 inches, and make sure it has been screwed into the framing cross members or trusses of the roof.
Screwing the panel tightly into the cross members will brace it in the strongest possible way.
Seal Your New Roof Panel
At this point, with your damaged roof section having been removed and the new panels firmly secured in place, it is time for the most important step: sealing the panel.
To seal your panel, a special weatherproof taping must be placed over every seam where the piece lines up. Do not just use any old tape for this, such as duct tape.
Cheaping out on this stage of the repair will prove fatal to the strength of your roof.
For this job, we recommend Beech Lane RV Roof Tape. It’s strong, it’s reliable, and it’s affordable—you can’t go wrong.
No products found.
Replace the Top Layer
Now that you have your new roof in place, sealed, and secured, we are just about done. The only thing left to do is to replace the top layer.
While different types of roofs exist for RVs, including fiberglass and aluminum, the best way to go, if possible, will be a rubber roof.
The reason for this is that rubber has an advantage over the other two in its ability to seal out moisture.
Sealing out moisture is the single most important factor when it comes to your RV roof, as water is what ultimately corrodes your RV, making it rot and ruin.
To replace the top layer, follow these steps:
- Before laying your new rubber roof down, coat the entire roof in adhesion in order to have it stick down and not bubble up as it sets. Cofair Quick Roof is a reputable product, designed exactly for this purpose.
- From there, begin rolling out the new roof material slowly and carefully, keeping light pressure on the roll to lay it tightly across the surface.
- Use a dry paint roller on a stick to flatten it out and remove air pockets as your roll. RV Parts Nation carries a high-quality rubber roof material that can be purchased affordably and to your specific requirement.
- Finally, with your new roof in position, reattach all the brackets and bars you removed in the first part, and simply cut the excess lengths of material off with a box cutter knife to give it a nice finished look.
No products found.
Safety Precautions When Changing an RV Roof
Whenever working on the roof of your RV, it is important to work safely.
- Use a height harness when possible.
- Let someone know you will be on the roof.
- Always bring the keys with you so as to eliminate all possibility of the RV being accidentally driven away by someone else, with you on top of it.
- Always stand or walk on the crossmembers of the RV’s roof. Failure to do so may cause you to step through the roof, further increasing the damage to the roof in which you are attempting to repair in the first place and injuring yourself in the process.
- Be extremely mindful and cautious of exposed holes on your RV roof, such as vent openings. Accidentally stepping into one of these holes can cause severe injury. The best way to avoid this is not to leave them uncovered, and when not working on them, place wood over the top.
- Always make sure your RV is parked and on a flat surface. Never board your RV’s roof while on a hill or slope. This will greatly increase the risk of balance loss and a fall from the top.
Conclusion
In this article, we sought to answer the question, can you replace just part of your RV roof.
Thankfully, the answer is that you can, in fact, replace a partial section of the roof of your RV.
RV roofs are layered in such a way that replacing part of them is simple and convenient for just about anyone, even those who are attempting to do this for the first time.
Although various types of RV roofing material does exist and can be used, rubber is the most optimal for two reasons:
- It seals better than fiberglass and aluminum.
- It is flexible, which allows for versatility. This means it can be fitted to virtually any roof, regardless of shape or size.
The main goal is to create a tight fit when placing your new roof and seal it properly to ensure no water can penetrate the new roof once replaced.


