Whether you’ve been on the road for some time or just bought a used RV, an RV remodel can be challenging, especially if you haven’t done one before.
But it can also be a whole lot of fun if you have the right tips and know exactly what you’re doing.
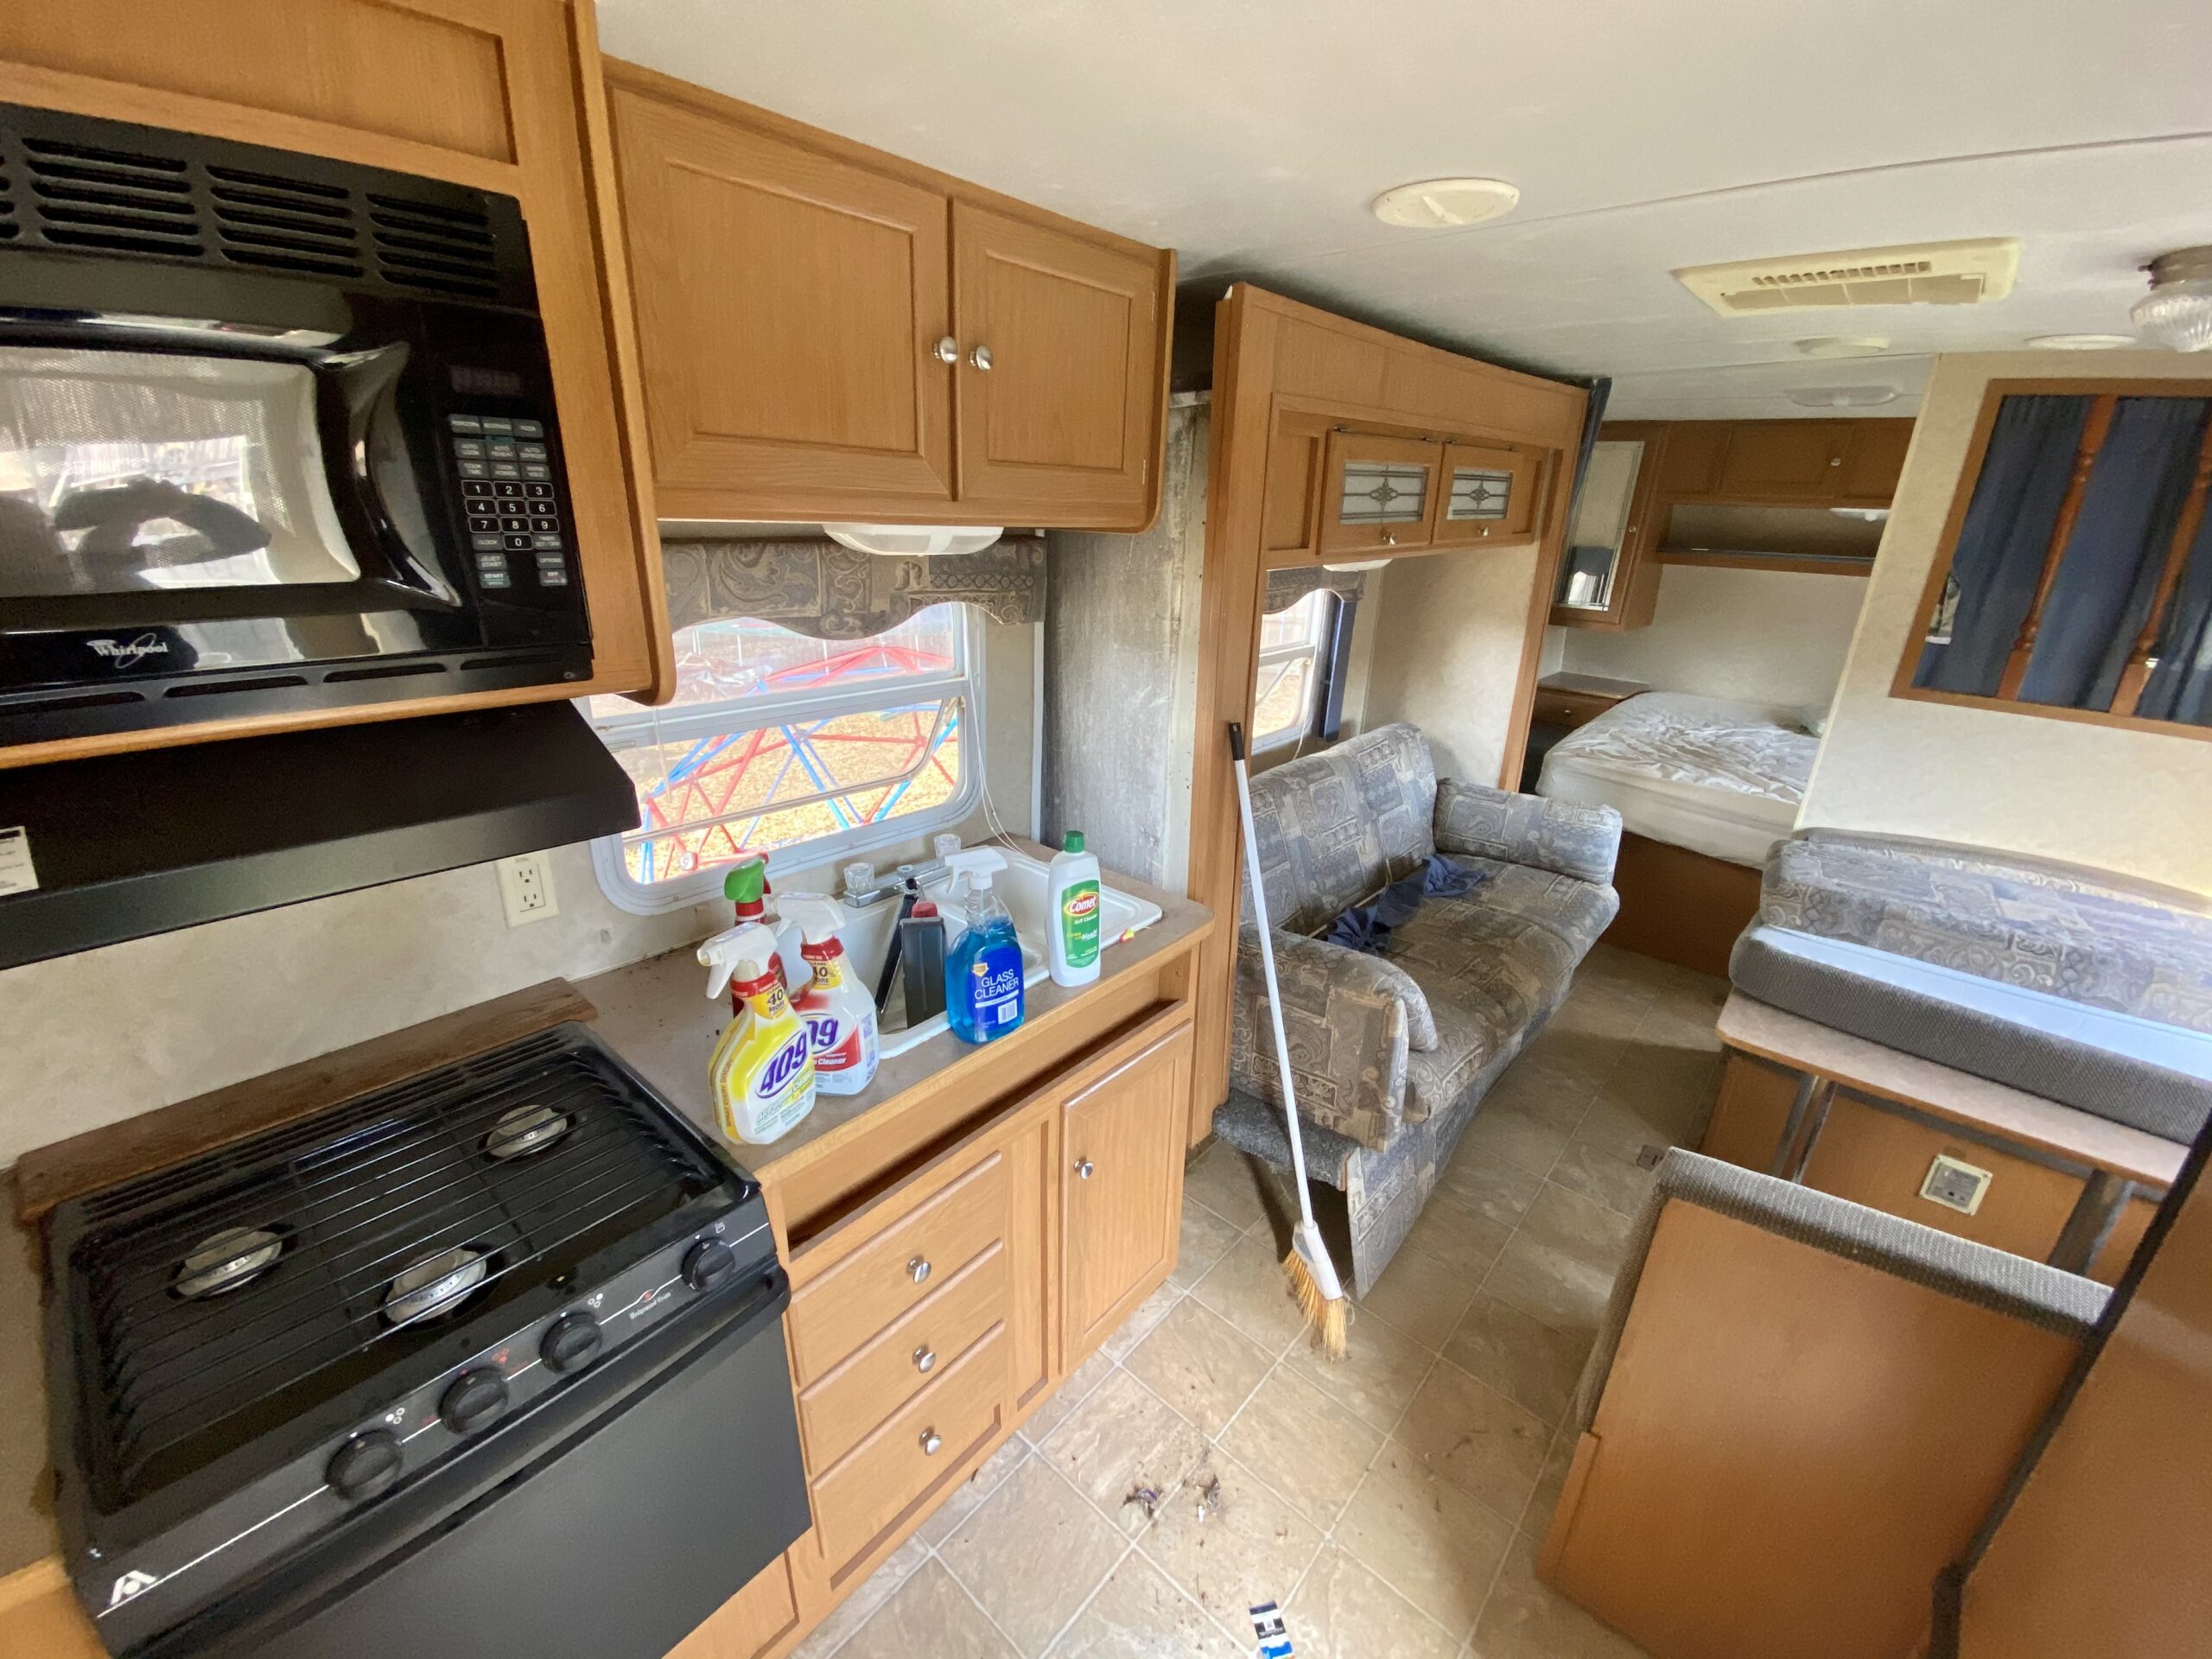
The first step in remodeling an RV is to plan out the entire process. This will give you a clearer picture of what you want and make the remodel less daunting. Consider replacing the flooring first before renovating other parts such as the windows, furniture, ceiling, and walls.
We’ve put together a comprehensive guide to help you pull off an RV remodel the right way.
Keep reading to learn some of the most important RV remodel tips from our experts.
Create a Solid Plan for Your RV Remodel
While there is always a strong temptation to jump right in and start working, it’s important to get yourself prepared and organized.
Whatever the size of your RV, your remodel will involve a lot of materials, tools, and details that can soon make it overwhelming.
While each RV is different, these crucial steps and tips can help you properly plan for a successful RV remodel and make it less daunting.
Gather Inspiration and Build a Design Plan

The first step in planning for a remodel is to build a design plan that shows where you’re headed and what you want the final product to be. This step is even more important for a large-scale remodel.
Look for design inspiration on websites like Pinterest and Instagram. You can also seek help from an interior designer or anyone experienced with RV designs.
Check out our Before & Afters for some inspiration!
Even if you don’t have sophisticated design tools and software, a simple pen and paper can get the job done.
Start by creating a list of all the features you want to add to your RV. Have a clear picture of what you want in your RV and how it will look and feel.
Getting all these ready before starting the actual remodel will make things easier, and you can customize your RV exactly the way you want.
If you can’t create a sketch or plan by yourself, hire an architect or interior designer to get the job done.
He can offer help with structural work, material and color selection, living room, kitchen, and bathroom.
Set a Budget for the Project
Creating a budget is probably one of the most important parts of planning an RV remodel.
The amount of money you’re able or willing to spend will determine the extent you can go to your RV remodeling project.
Several tech solutions, such as apps and software, can help you in budgeting and financing.
Your budget will include the cost of the materials, tools, equipment, and labor if you’ll hire a professional.
You may need to do some quick research to get an idea of the cost of these costs. You may also request help from professionals when estimating material costs.
When working out a budget, consider the amount of damage and how much work needs to be done on the RV.
An old RV with a lot of damage will require a bigger budget than a used RV still in good condition.
One way to save costs is to do some or all of the work by yourself. Keep in mind that demolition work, replacement of upholstery, and fixing of mechanical or electrical issues may still require professional services.
We also advise including a 10-15% contingency in your budget because of unforeseen expenses. This is especially important if you’re planning a large remodel. Of course, the money is still yours if it goes unused.
If the final cost estimate is bigger than your budget, go back to your layout and remove elements or areas of lesser priority.
Gather Your Tools or Hire Contractors
The next step is to determine how you’ll be carrying out the remodel. You have two options: you can either hire contractors or go the DIY route. Each option has its advantages and disadvantages.
If your budget isn’t big or you’re planning a small remodel, you can tackle some of the tasks yourself.
You can also ask for the help of family and friends. The major advantage of this option is that you’ll be able to save costs.
However, DIY can be difficult if you’ve never had any experience with the materials.
It may also take longer to complete, and the final product may not be as neat or professional if you will be taking on the job yourself. It’s best to gather all the tools you’ll need before getting started.
If you are considering hiring a contractor, research contractors and choose not only based on cost estimates but also consider their years of experience in RV remodeling or related projects.
Do some homework on them or request and call references to make sure your contractor is as good as he claims to be.
Sometimes, even a DIY remodel will require the help of a professional. This is because there are so many aspects and factors involved in an RV remodel. For this reason, we suggest keeping a list of all the work to be done on the RV. Label tasks that you can do yourself as “DIY” and those that require professional services as “PRO.”
Create a Timeline
Once you have a design plan, budget, and professionals to carry out the remodel, you need to create a suitable timeline. On average, a complete RV remodel takes up to 3 to 4 weeks to complete.
The actual time it will take will depend on the job’s size and complexity and whether you’ll be doing it yourself or hiring a contractor.
Choose an ideal start date or a date you can work backward from. If you already have a team to execute the project, sit down with them to determine the time each task will take.
Discuss which tasks need to be completed first and how long they will take. Ask for professional advice if you need to.
Your timeline should also include some breathing room in case of emergencies, setbacks, and unexpected expenditures. Let’s be honest. RV remodeling can be quite large and may never go perfectly according to plan.
Begin With the Flooring

When it comes to RV remodel, it is best to start from the flooring. No matter the size of your remodel, the flooring will always require a replacement. This is because the floor is the part that receives the most amount of wear and tear.
The most important decision you’ll make when changing the floor is the type of flooring material to use. There are several options for RV flooring to choose from.
However, you have to consider your RV style and the functionality of the flooring material.
Vinyl Flooring
Vinyl is the best option when it comes to RV replacement flooring. It is known for its waterproof properties and is ideal for those living in wet and humid areas.
Vinyl flooring is also cheaper than hardwood flooring, and it is fast and easy to install.
Besides being water-resistant, vinyl flooring is also stain-resistant, versatile, and highly durable.
It requires little maintenance, and because of its commercial-grade wear layers, it can take a lot of impacts even in heavily-trafficked areas of your RV.
Vinyl flooring features a click-and-lock system, so you can easily install it yourself. It comes in different color schemes and patterns that you can choose from to suit your RV style.
Laminate Flooring
For a plush feel and wood-like appearance, laminate flooring is the best option. It is eco-friendly and easy to install. One of its advantages is its versatility in design.
It can be made to appear like hardwood or tile. It is also easy to clean and maintain and can withstand a considerable level of use.
There are various designs to choose from, depending on your choice of color, pattern, or finishing.
To save yourself some cash, you can easily install laminate flooring in your RV by simply cleaning the underlying floor, peeling the cover off the sticky side, and sticking it over the underlying surface.
Hardwood Flooring
If your RV takes a lot of traffic and undergoes intense use throughout the day, you could consider hardwood flooring. I
From maple to ash, oak, or cherry, you will find one that suits your taste and RV with its varied choices.
Its durability is never in doubt as you can refinish it up to two or three times. This helps to remove scratches from its surfaces, leaving it as fresh as it used to be.
However, the expertise of a pro is advisable in installing this type of flooring for your RV.
This is because you might create numerous scratches and scuffs while using nails and other tools unless you have experience in installing hardwood flooring.
It is also important to note that solid hardwood’s price is costly compared to other RV flooring options.
Carpet
If your taste is in the cozy indoor style, RV carpets are for you. It is one of the cheapest floorings available for RVs.
Its versatile ability to blend a formal and informal indoor setting is second to none.
Carpets are chosen based on different criteria. One such essential standard is the material the carpet is made of. This influences the ease of cleaning and maintaining it, as well as its durability.
Nylon carpets have a springy feel when you walk on them. This makes them suitable for comfort and makes them withstand abrasion. However, they are easily stained and can fade off quickly, especially under UV light.
Polyester carpets are softer and have non-porous fibers. This makes them stain-resistant and more durable than nylon carpets.
SmartStrand Carpet is for those who are environment-conscious. Its strands are made from maize husks. This carpet is as soft as wool, it is stain-resistant, and is easy to clean.
Carpets generally are great options for RV flooring, except in water-prone areas like the kitchen, bathroom, and toilet.
Give Your Windows a New Look
If you own an RV right now, chances are you are looking for ways to combine living in a small area, spruced up enough to call it home, and enjoy the freedom of outdoor living at the same time.
If you don’t take care of your window, your purpose will be threatened. Sounds like bad news, right? Not necessarily.
Your windows are either made of glass or plastic. While remodeling your RV, you might need to clean them or get new ones simply.
What should you know if you decide to change your RV windows? What should you do about those old valances and cornices?
One issue with choosing a window type is the weather. You want to choose one that keeps you warm during winter and doesn’t make you hot in the summer.
The solution is insulation windows. They can either be made of glass or plastic.
Glass Windows
When you hear glass, the first thing that comes to your mind is most likely, “handle with caution.” However, there are tough glass materials used to make windows for your RV.
Thick windows also might mean increased heat in your mobile home. However, insulated glass windows are the best in such cases.
Some insulated windows are hard-coated with anodized aluminum. This material reduces corrosion and maintenance stress.
It also reduces energy cost in cooling your home, and the noise you’d typically hear while traveling is reduced with this type of glass window.
You can also opt for the removable type to make cleaning easy. However, glass is generally liable to breakages.
Plastic Windows
Plastic windows are easier to handle, especially while cleaning. Insulated plastic windows are very similar in use to glass windows. The only difference is in the material they are made of.
Plastic windows are susceptible to scratches that consequently make visibility difficult. However, they are relatively cheaper than glass windows.
They are also removable for easy cleaning and are less prone to breaking.
Valances and Cornices

In most RVs, except they’ve been remodeled recently, the cornices and valances are old fashioned. For a modern RVer, this might be far from what you want in your mobile home.
There’s a solution. You can either remove or cover them. What better way to protect them than with curtains?
Curtains
Curtains are the defender of your privacy, the essential coverage that differs from room to room. It is important to note that different parts of your home need different levels of privacy.
For instance, your bedroom needs a curtain that blocks out the view from outside and, at the same time, sunlight, which means you need a dark-colored curtain here.
For windows in your living room, kitchen, and other areas, you will have to consider your wall and furniture color to choose the right curtain for them.
It is easier to match the wall color to fabrics than fabrics to the wall color. In this respect, you might need to hire a professional.
Pay Attention to Your Furniture
Your RV is old? You likely have old furniture as well. Now you’ve got to be wondering what you should do about this old furniture? Well, you can do one of two things, cover up the couches, or get new ones.
Which is cheaper? Using couch-covers, of course. However, some couches and recliners are so old, covering them will do no good. In such cases, buying a new set of sofa and recliners is best.
Couch
One of the most used items in a camper is the sofa and couch. It comes second to the floor. It, therefore, needs frequent maintenance and change.
It is considerably costly to change the sofa or couch in your RV every time you notice a tear or fault. It is more economical to cover the old, frayed covering up.
Purchasing a cover for your sofa or couch is an excellent idea. However, it is prudent to make sure the color of cover you’re purchasing complements your RV floor and walls.
Therefore, while drawing your plan for your RV remodeling, be sure to remember this.
Using a couch cover is also a way to cut down on cost as it does not require any unique expertise to wear the cover on your sofa or couch.
If you’re not good with colors, ask the attendant what couch cover color will work well with your floor and wall. They will be happy to help.
Mattress

This belongs to one of the essential rooms in your camper. It is where you can least control your activities since you’ll be knocked out there.
Therefore, you want to sleep where you feel comfortable, on a surface that compels you to close those eyes.
There are foam, air, and spring mattresses. To make the right choice, you need to consider your budget, ease of maintenance, and durability.
RV foam mattresses are by far the most comfortable, durable, and budget-friendly of all the options. This is because it is the most stable, even when temperatures are unfavorable.
One other consideration should be the mattress size. This is dependent on the bedroom size. You obviously can’t fit in a small-sized mattress in a large frame; it looks ridiculous.
Will you need a standard-sized bed? Will a custom-sized one be ideal for you? Note that a custom-made mattress will cost more.
Your mattress cover should also come into consideration. Choose one that repels dirt.
Treat the Walls

The walls of an RV serve more than aesthetic purposes. It is the barrier between your camper and the harsh weather outside.
It is, therefore, vital that you get your choice of wall right when remodeling.
Factors such as cost, durability, and water-resistance are essential to consider when making an RV interior wall choice.
Here are the available choices for RV interior walls.
Plywood or Paneling
It is the most widely used interior walls in older RVs, especially ones that are yet to be remodeled.
RV manufacturers used to prefer to use plywood, also called composite plywood, because it is made of cheap wood in its middle and wood veneer on either side.
They are, however, not easy to tear or puncture but are easily damaged by water and weigh a lot.
Wood paneling is extremely common due to its minimal weight, flexibility and ease of use.
It can be easily cut and replaced and can be finished off with wallpaper or a fresh coat of paint.
Medium Density Fiberboard (MDF)
A cheap alternative to composite plywood, it is a lightweight material with sawdust at its heart. It is so affordable; one can buy numerous sheets of it at the price of one plywood panel.
Its lightweight makes it suitable for RVs as it helps to conserve fuel.
Its minimal weight also is the reason it has a short lifespan. It can cease being useful after just one year. It is also not a good water resistor. I do not recommend MDF for most purposes.
Vinyl
This is a budget-friendly RV interior wall option that is water-resistant and aesthetic. Vinyl wall panels are available in various designs and colors you can choose from. They are easy to install, resistant to water, and versatile.
Despite these qualities, they are cheap. You can save on hiring a professional as the sheets are easy to cut and paste.
Paint
Another way to announce the beauty of your RV interiors is by painting the walls. Less aesthetic wall panels such as plywood and MDF can be painted to make them more beautiful.
You can choose to add patterns to your painting, depending on your experience and expertise in painting.
This is one of the ways to cut costs while remodeling your camper. However, if you lack the creativity of combining colors, hire the task out, as a badly painted wall will hamper the beautiful effect, everything you’ve gotten right should have.
Backsplashes

Walls that are poor water resistors can be helped using backsplashes. These walls, especially in the kitchen, bathroom, and toilet, can be made more beautiful and durable using backsplashes.
They are cheap, easy to install, and easy to clean. You will incur no extra cost of hiring a professional if you go for this option.
Install Proper Lightings
Lightings! You can’t deny how light affects your mood. Bright lights make you want to get involved in an activity.
Cool lights, on the other hand, makes you want to relax. To get the lighting for your RV right, you need to consider some things:
- Watts: You should know the wattage of the light bulbs you’ll be buying. The lesser the watts, the more energy you’ll be saving. In an RV, where you don’t have an unlimited power supply, you must save as much power as possible.
- Volts: It is also vital that you know the volt rating of your bulb fixtures. Most RVs have a 12 volts rating. However, you should check yours out to be sure. This is important because the light bulbs you buy must have the same volt rating as the fixture in your RV.
- Base Size: You want to buy bulbs that fit into the fixtures perfectly. Some fixtures have pin inlets while others have screws. Know your RV’s, and purchase based on that.
- Lighting Color: As mentioned earlier, the brightness and coolness of your lightings affect your mood. It is, therefore, essential to note that bright lighting should stay away from the bedroom.
Daylight bulbs can be used in the living room, workstation, kitchen, and other places other than the bedroom and maybe the entertainment area.
Also, remember that your living space is relatively small. Therefore, daylight bulbs may be too much for your little space.
Considering all you should keep in mind when purchasing lightings to upgrade your camper, it seems like a lot to do. However, they are things you will get a grasp of once you regularly do them.
That being said, there are other things such as your RV’s power source, and what bulbs or light sources are hardwired, and which ones are not.
If you are experienced in electrical works, these will be easy. If not, consider hiring a professional and watch them work. That way, you will likely get the hang of what they’re doing.
Conclusion
Remodeling an RV can be tricky. Sometimes, it seems there are too many aspects of the project to keep track of.
However, this doesn’t mean it’s impossible. All you need is some forethought, organization, and the right framework in mind.
Plan the remodel process before getting started on things. Create a budget and set an ideal timeline to complete the remodel while planning for contingencies. An average RV remodel can take up to 4 weeks to complete.
Your remodel process should start with the flooring, as it is probably the most important part of the RV. Then consider other parts such as the windows, furniture, and walls.
To save costs, consider taking on the remodel yourself since many of the aspects of an RV remodel are surprisingly easy to do.
If your remodel size is large, you can still take on parts of the remodel yourself and hire a professional to complete the job.


One Response
Thank you for the incredible information on the YouTube channel and Blog here! It is extremely helpful as we are beginning our renovation this week!!