You may want to install a solar electrical system, an extra cell phone booster, a Wi-Fi antenna, or TV and cell antennas.
To run wires through an RV ceiling, you should find out what kind of wire to use, gather your tools and materials, and find the best place to drill the hole. Then, create the hole, soften the edges, install a protective device, run the cables through it, seal it, and run the wire along the walls.
In this article, we’ll show you exactly how to run wires through your RV’s ceiling safely and help you do a thorough and flawless job that’ll last for many years.
Why Drill the Roof?
The exterior walls of an RV are usually not hollow because they’re reinforced with steel or other materials. So, to run a cable through your RV, drilling through the roof is probably your best choice.
You may be worried about leakage or maladjusted wires, but there are ways to prevent that. Follow these steps to drill the perfect hole in your RV roof.
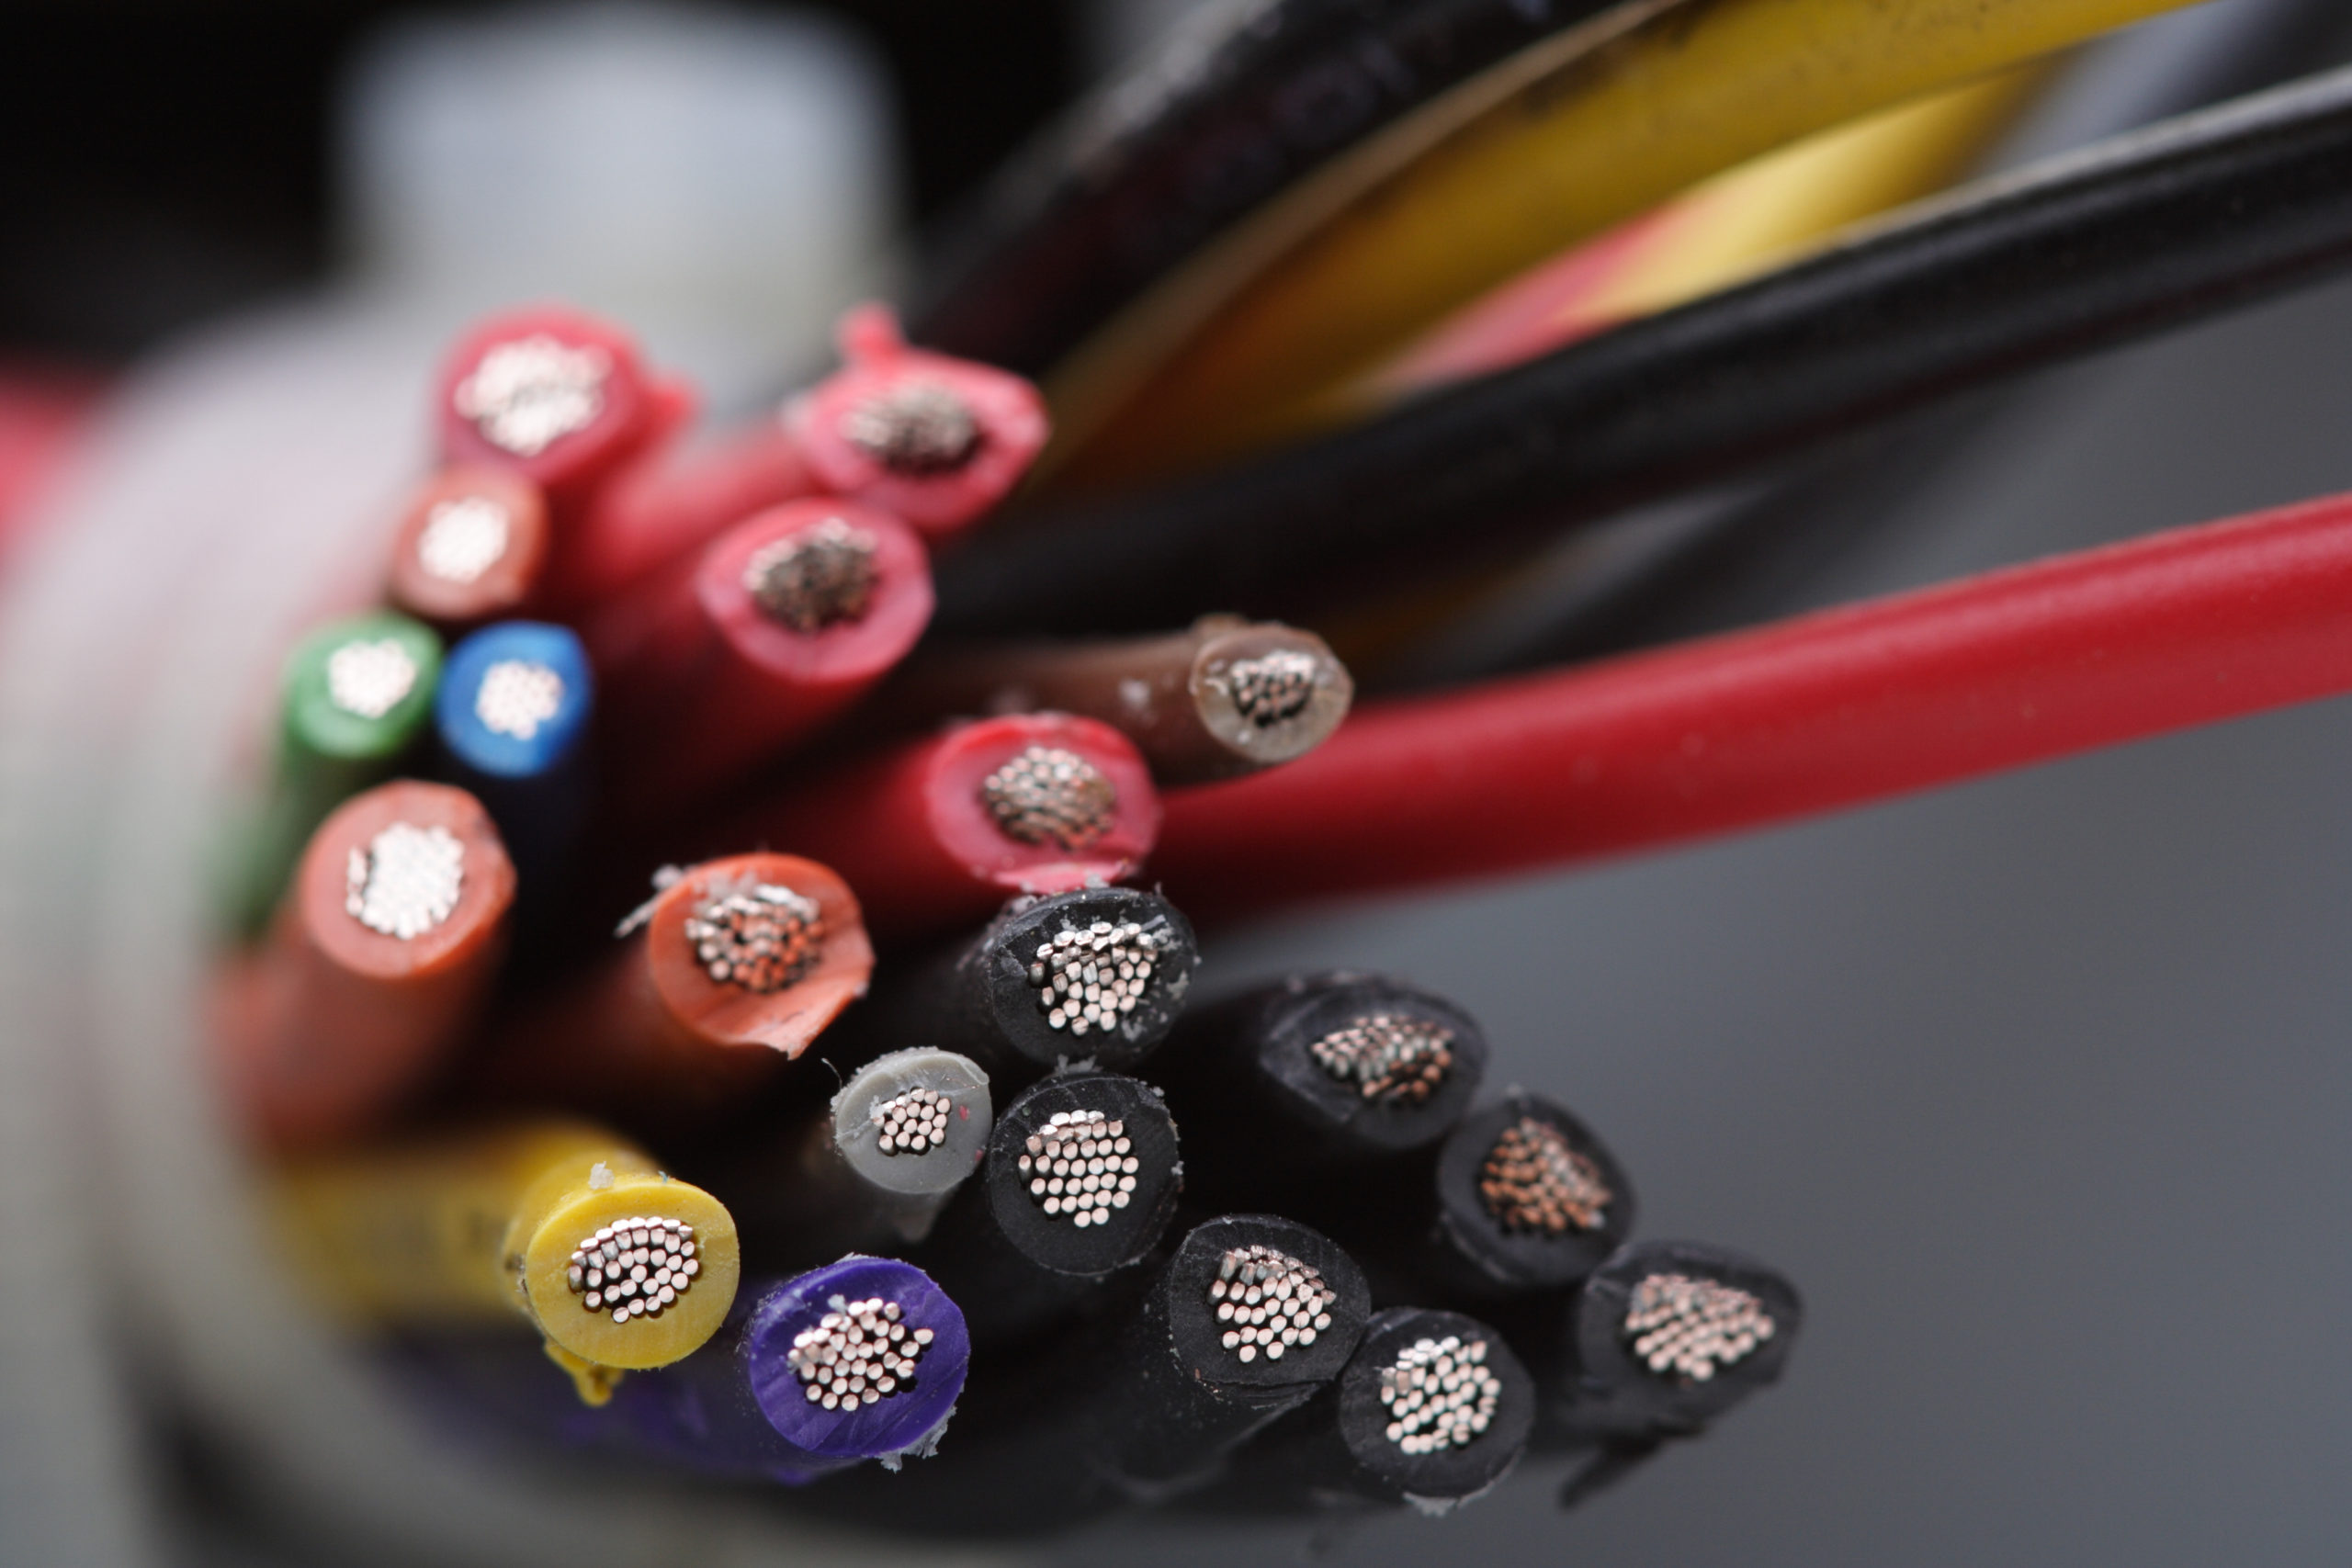
Find Out What Kind of Wire to Use
If you don’t have much electrical work experience, choosing the proper wires and calculating the wire sizes can be confusing.
But you should take it seriously; otherwise, you may run into safety or electrical problems later on.
Wires that are too thin can be hazardous, and the ones that are too thick are harder to work with, and you’ll have to spend extra money on them.
You should choose the wire size by considering its length and the amount of current that’s going through it.
If your wires aren’t thick enough, you’ll run into too much voltage drop, and the wires won’t be able to handle the electrical current running through them.
Look for the maximum current in the technical specifications available for the appliances, lights, and other electronic devices you want to install.
This is listed in amps for DC devices. If it’s listed in watts, you should divide the number by your system’s voltage.
To figure out the length of your wire run, measure the distance between its start point (most probably where you’ll put your amp) and its destination (somewhere on top of your roof).
Then double the number because you need both a positive and a negative wire to complete the circuit.
Other than knowing the wire length and the maximum current, you need to determine the wire size.
The Circuit Wizard helps you estimate the proper wire size for your work if you enter the variables we mentioned: the wire length, the system voltage, and the max current.
Gather Your Tools and Materials

Here’s a list of essentials you need to run a cable through your RV roof. Note that, depending on the devices you want to set up, you may need extra tools.
- Wire
- A drill
- Waterproof electrical cable gland or cable box
- PVC conduit
- Double-sided tape
- Sealant
- Sandpaper and hammerite
- Borescope inspection camera
Find the Best Place to Drill the Hole
You’ll need to carefully plan for the route you want to run the cables through.
Before getting started with the hole in your roof, identify the best place for it.
To do that, you have three options:
- If your RV isn’t that old, you can contact the manufacturing company and ask them if they can send you drawings of its structure. The drawings show you a complete picture of what’s inside the walls and the ceiling, so you can easily find a good place to run your wires without hitting a pipe or an aluminum frame.
- If you have an old RV, don’t worry. There are other ways. You can use a magnet and glide it over walls or the ceiling, and wherever it sticks, you know there’s some kind of steel in there you don’t want to drill in.
- A final option is to find an opening in the walls. For example, you can remove excess plates, use your phone camera or a borescope inspection camera, and navigate it inside the walls or ceiling to see where barriers are blocking your way.
Create the Hole
Once you’ve found the perfect spot for the hole, you’ll have to mark the spot from inside the RV and then drill a pilot hole from the inside until you reach the top of the RV.
If the ceiling has a rubber coating, it’s best if you cut a small part of the rubber membrane before you start drilling.
Cut enough to prevent the hole bit from grabbing the membrane.
Now you should go on top of your RV and locate the small hole you just drilled in the roof.
Grab your drill and widen the hole. The actual size of the hole depends on the number of wires you want to get through.
However, it’s best to keep the diameter of the hole up to 1 inch.
Soften the Edges
You’ll need to smooth out the edges of the hole you drilled so it won’t damage the wires. You can do that using sandpaper, then apply Hammerite, glue, or sealant around the hole. Y
ou can also easily install some cable glands or PVC conduit inside the whole to do the job for you.
Install a Protective Device
There are three options you can use to protect your wires against bad weather conditions. You can use a cable gland, a cable box, or a PVC conduit.
PVC Conduit
The first option is to take a 1-inch PVC conduit and insert it into the hole. Leave most of it above the surface. Then it would be best if you used a sealant around it.
You can place the PVC cover plate on top. This way, you’ll prevent condensation or moisture from getting in your RV.
This method works well if you have only one or two wires to run through the roof.
SealProof’s Liquid-tight Conduits are especially useful, and they come with the connectors you need to make everything tight and neat. They’re also easy to cut and very flexible.
No products found.
Cable Gland
You can use cable glands for smaller installations because they hold one or two cables at most. If you suspect you’ll need to install more equipment on your roof in the future, you’ll have to make a new hole and use another cable gland.
Plus, if you want to get to the hole and wires later on the road, you’ll have to remove the cable glands altogether.
You should drill a bigger hole for a gland than when passing the wire through alone.
Tuparka offers waterproof and adjustable cable glands that come in packs of 50.
No products found.
Lokman’s 20 packs are also high-rated and work well.
No products found.
Cable Box
These boxes are better options if you have more than two wires to run through the roof or if you’re going to add more wires in the future because they have multiple threaded openings.
You can also use a piece of conduit inside the cable box.
Drill some holes in the side of the box—if it doesn’t have some already.
The holes should be big enough to fit the threaded side of the waterproof cable glands in them. Insert the cable glands and tighten them in the hole.
Some cable boxes already have holes in the bottom. If not, drill a hole in it that matches the size of the hole you drilled in the roof of your RV.
Stick some double-sided tape to the bottom of the box to prevent it from getting dislocated.
Place some sealant around the hole and then place the cable box on top. Then you should fasten the box with screws.
Cable organizer boxes, sometimes called cable management systems, come in all shapes, sizes, and materials.
For example, Bluelounge’s High-Density Plastic Cable Box lets you hide the excess wires, and it comes in various colors.
No products found.
If you’re looking for something more sophisticated, we recommend Cabaley’s Cable Management Box Organizer, which comes with cable ties, clips, and sleeves. It also features an anti-skid design, which is pretty useful for an RV since you’ll be driving around a lot.
No products found.
Run the Cables Through
Run the cable(s) through the PVC conduit or the cable gland and then through the hole and get them out of the other end.
If you’re using a box, first, you should run the wires through the glands in the box’s side, then through the bottom hole, and then fish the wires out from the inside of the RV and get it to where you want.
Afterward, you’ll need to tighten the cable gland around the cable.
Seal the Hole
Before using sealant on your roof, clean the surface with alcohol thoroughly.
If you’re using a cable box, place some Silicone or Dicor sealant around the hole and then place the cable box on top and press it until some come up through the openings.
Then you should fasten the box with screws. Place some more sealant around the box’s outer base and on the fastened screws to make a waterproof environment.
Be sure to put on some sealant on the edges of the box before you put the lid on if it doesn’t have a bead of silicone or caulking itself. Then use screws to fasten the lid.
No products found.
If you’re using a cable gland or PVC conduit, place some sealant around it, as we explained before.
You can use some silicone sealant on both ends of the conduit after running the cables through it, so you can pull out the wire later if necessary.
Remember to place some sealant on the inside of the RV around the hole when you’re done.
Run the Wire Through the Walls
If you’ve chosen to line up the exterior opening with an interior wall, then you should continue to navigate the wire in the walls after you ran it through the roof.
You may want to fish the wires out from an opening you made somewhere in the walls, so it’s best if you use a borescope camera to guide the wire inside the walls until it reaches the opening.
If you want to run wires in the back of your cabinets, you can drill a hole in the top back corner of the cabinet. This way, the wires go in the cabinet easily and don’t interfere with the things you put inside.
Safety Tips

As with any operation that involves electricity, to run a wire through your RV ceiling, you need to take safety seriously.
Consider the following safety tips:
- Be sure to disconnect your RV’s battery before you get started. Most RVs have a switch that breaks the connection between the fuses providing power and the battery.
- If you can’t find a roofed parking space for your Rv, don’t choose rainy days for the work. Be sure to check the weather for at least two days ahead before starting the process because it may take more than one day to finish the job.
- Before drilling the hole, make sure the roof is dry and thoroughly cleaned with alcohol.
- Gather all your equipment in a container that you can put on top of the roof, so you reduce the risk of them constantly falling down.
- Be careful with the sharp tools, especially the drill. Never make any adjustments while it is on. Don’t clean away chips with your hands.
- The hole you drilled can have sharp edges. Don’t cut your fingers with the hole.
- This goes without saying, but be careful not to fall down from the roof!
- Wear tight clothing throughout the process.
Final Tips
- Consider all the alternatives. If you want to go through with this project, take some time, and consider all the alternatives first. Think about any future equipment you may want to install on your roof and then decide on the place you want to drill the hole and the tools you’ll need. It’s best if you get to know your existing options and cable paths.
- Look for ducted air conditioning. If you’ve got ducted air conditioning somewhere in the ceiling, it’s a good idea to consider fishing the wires through them. You may still need to create holes in the ducts, though. Remember never to run wires through the heating ducts, unless, of course, you’d want to start a fire! Although heating ducts usually don’t get that hot to melt wires, it’s best to be cautious.
- Look for holes in existing plumbing. You can also look for holes drilled for the existing plumbing. They are usually large enough. If they are sealed, you can remove the seal, run the wires through, then close the opening again.
- Use your roof rack. If you have a roof rack on your RV, it can be an excellent option to fish wires through one of the existing rack support footings. You can remove one mounting bolt and pass your wire through that hole.
- Use the refrigerator vent. If you have a refrigerator vent up on the roof, you can drill a hole in one of its aluminum or steel walls and, using a cable gland, pass the wires through there and behind the refrigerator. Make sure you have all the equipment you need before you start the process—especially enough cable.
- Diagram your system. If you want to install a complicated system, and you can’t get it straight in your head, it’s best to draw out your system and diagram how everything is supposed to connect. If you’re installing antennas, be sure to install them at least a foot apart to keep them from interfering with each other.
- Run a string with every wire. Whenever you run a wire, remember to run a string with it so that you can replace the string with another wire in the future if you need to.
- Mark the positive and negative wires. Remember to mark the positive and negative wires, so you won’t get them confused later. After the wires are through the roof and before you seal everything up, it’s best if you test them with a cat5 tester.
- Use stainless screws. Using stainless screws for the cable box can really help prevent it from moving and loosening the seal.
Conclusion
As we talked about, you should consider all your options before drilling through your roof.
You can consider passing the wire through ducts, plumbing holes, roof rack footings, or a refrigerator vent.
After deciding about the spot, gather all the equipment you need and then dig in!
First, drill a small hole from the inside of your RV, and then a big one from outside.
Then soften the edges of the hole, install a protective device, and run the cables through. Seal the hole carefully and continue running the wires through the walls if that’s part of your plan.
Be sure to choose the wires you want to use wisely, and think about the protective device that’s best for you.
Consider the equipment you may want to add to your RV’s roof in the future.


