Why replace your carpet
Being outdoors

Spending time outdoors often results in bringing a little piece of the outdoors back into your camper. Think about it, if you spend time camping near a beach, the amount of sand that your family tracks in will begin to rub the carpet down and that sand will find its way to the flooring underneath. For you germaphobes, you know exactly the look on my face right now.
Travel with pets
Many of us travel with our pets as well. They track in as much as kids do, plus they shed and this builds-up on the carpeting as well. Vacuuming isn’t always easy to do unless you are tied to shore power at all times.
Difficulty cleaning
For those who enjoy the bivouac-style, boondocking adventures, you’ll find that vacuums use a lot of power. The plug-in, rechargeable vacuums never seem to have the kind of power that you need to really get deep dirt out of your carpets. You simply end-up with carpets that look tired and worn-out far too soon.
Switching to an easier to maintain flooring is the most practical upgrade that you can make and it can be relatively straight forward. Let’s talk about options, prices, and difficulty levels.
Flooring Options
Hardwood

Hardwood flooring is always a gorgeous choice. It holds up well to traffic, pet claws, running kids, dirt, spills, and drops. Hardwood flooring is hard to chip, standing up well to dropped dishes. It’s easy to wipe spills right up or deal with kids who come in wet from swimming at the lake. Sweeping sand and dirt are simple and there are many options available that withstand scratches and dulling finishes.
Hardwood flooring can be installed right on top of the subfloor. Tongue and groove styles are simple to put down and let float on top of the floor. This may be the best method so that the floor can give; allowing for it to expand and contract with extreme temperature changes and the movement of your chassis and frame.
Hardwood can cost anywhere from $6 to $22 per square foot to install, depending on whether you do the job yourself or hire a professional. It’s a job that takes an intermediate level of DIY experience but many beginners get it done just fine.
Speak to your flooring expert to find out if the type of hardwood flooring you are looking at requires any special underlayment or if it can float over your subfloor.
Linoleums
This is undoubtedly one of the cheapest options for reflooring your camper. It starts as low as .59 cents per square foot. This is relatively easy to install but the subfloor needs to be prepped and perfectly smooth because linoleum doesn’t hide any imperfections. Raised spots will also wear holes through quickly if they are in traffic areas.
Linoleum definitely doesn’t hold-up for the long term. It is easy to sweep and mop, but is prone to scuffs and scratches, stains from fluid spills will also be a factor. It just isn’t highly recommended because it’s fairly unforgiving. Even scooting chairs over the top can cause tears that will quickly increase in size. You’ll also want to glue it down with adhesive made specifically for this job and figure that into your overall cost.
Tile
You probably could install time, but it would not work. First of all, it adds too much weight to your rig and will cost you in safety and in gas mileage.
Secondly, it cracks easily and doesn’t give. When you are driving, your tile grout will crack, loosen, split, and cause your tiles to rattle loose in no time at all.
Tile is very expensive and isn’t a job for a novice. Not recommended at all with a cost of $7-$24 per square foot. This option will require more work, more money, and last the shortest amount of time.
Painting
It is possible to lay plywood over the subfloor, which is likely a form of OSB. You could clearcoat this or paint it. The cost is minimal and there are many options for finishing it such as burning the wood to bring the grain out, which looks amazing when it is stained or even tinted.
This process is called Shou Sugi Ban and is very popular for do-it-yourselfers. The cost varies around $1.50- $5 per square foot for the wood and supplies. This is a method that is friendly to those who have little DIY experience.
Vinyl Plank
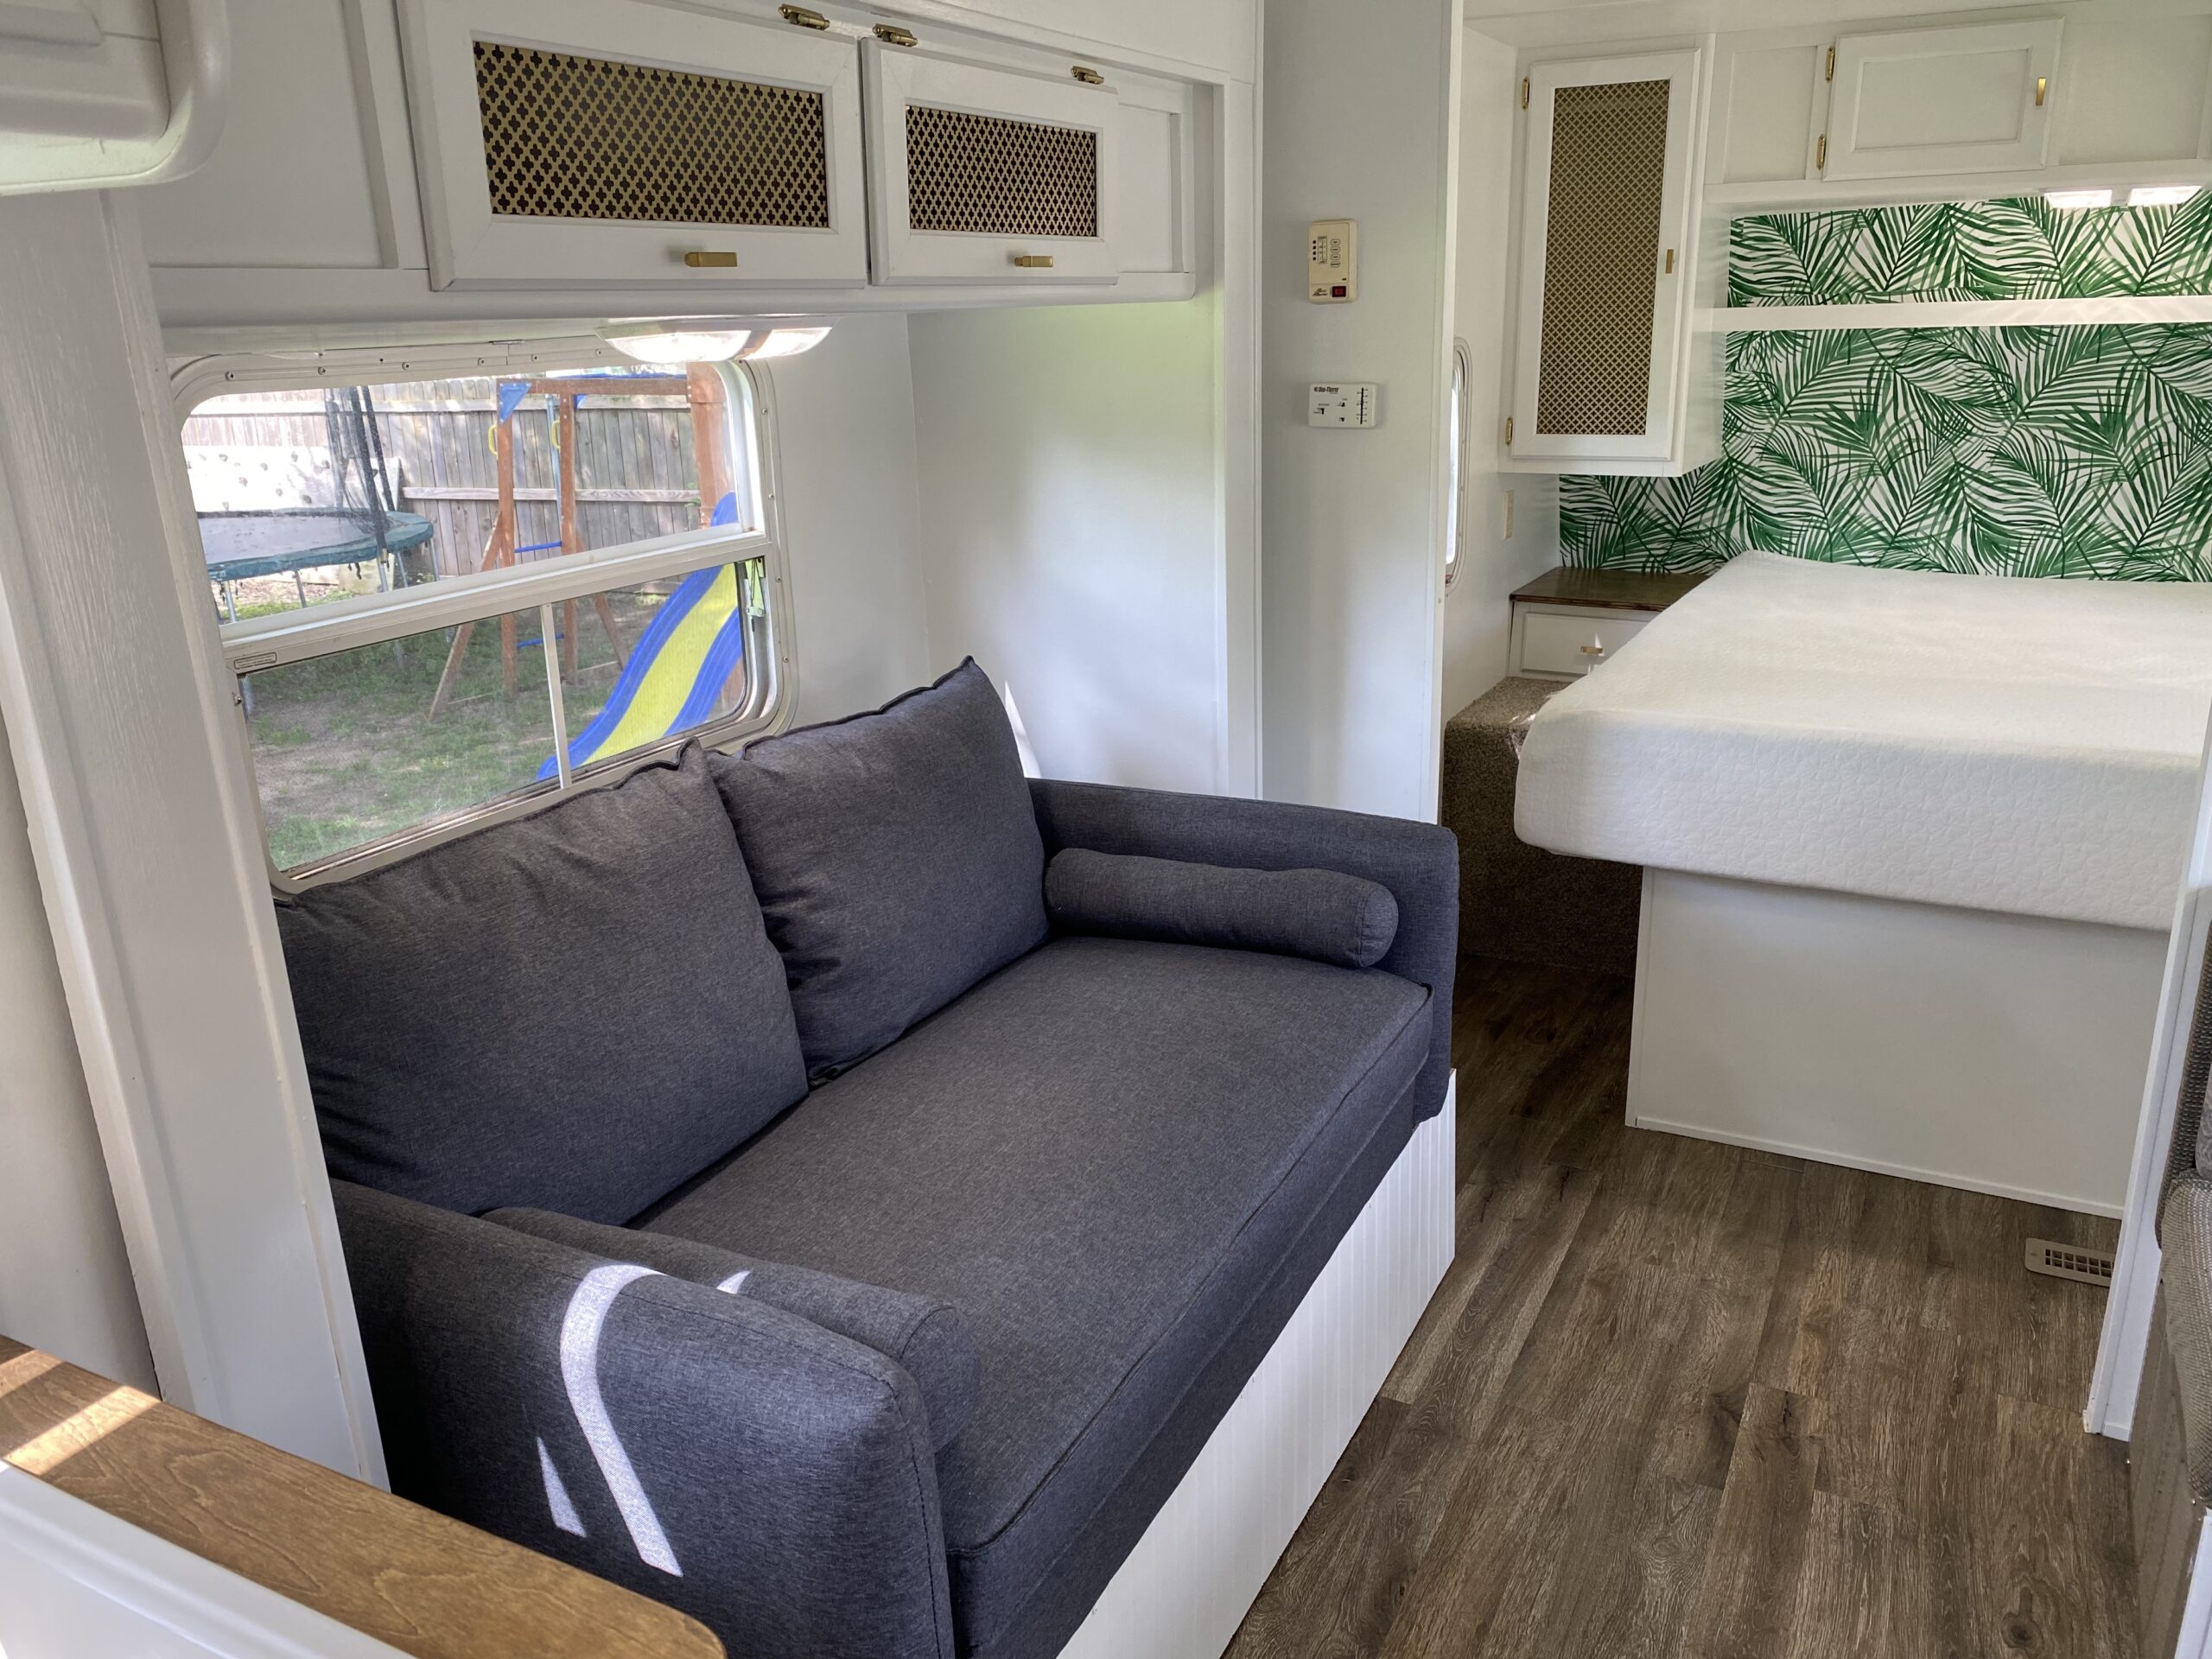
This type of flooring is heavier and more durable than linoleum, with the same benefits of easy clean-up and it goes down relatively easily. It’s definitely a job that you can do as a beginner too.
The planks can be cut with a knife, by scoring them and then snapping them to the length or width you need. They snap together in a similar fashion as tongue and groove wood flooring but they hold up incredibly well over the years.
This is also a flooring choice that can be installed over the subfloor and left to float. It’s affordable, starting at approximately $1.99 per square foot.
Laminate
If your heart is set on hardwood flooring but it’s really at the top end, or completely out of, your budget, you might turn to laminate flooring. It’s essentially a layered plank that is topped with a wood veneer in your choice of style and color.
Vinyl plank looks like solid wood once it is down, but it can be a fraction of the cost, coming in at around $3-$8 per square foot. It wears very well and is resistant to the scuffs, scratches, dents, and chips that might happen with other types of floor. In a camper, where you might be rough on the floors, this is a major bonus.
It also goes down in tongue and groove fashion, allowing you to do the job yourself and let it float over the subfloor. It is always recommended that you use an underlayment between the subfloor and your planks so that they don’t rub and squeak.
Vinyl tile
This is an extremely budget-friendly option, as vinyl tiles start at well under $1 per square foot. It’s easy to put down and is very DIY friendly.
They wear much better than a linoleum floor because they are made of a composite material. They are easy to maintain and if one needs to be replaced, you can pull that one up and replace it without tearing out the entire floor.
The caveat is that you must prep your subfloor to make sure that it is completely smooth. The composite tiles are sturdy but a bit brittle in their composition, so any high points under the floor can cause them to split under pressure from above.
All in all, this is a good option for the price but you’ll need to secure them with adhesive, they cannot be floated above the subfloor. This subfloor prep and extra adhesive steps may be more involved than you were hoping for, but with some effort, they are a very cost-friendly option, even with the cost of the adhesive.
Carpet

You can certainly put carpeting back down but it isn’t a job for the unskilled. There are many cuts and precision angles that need to be done in a camper that someone with no carpet-laying skills will have great difficulty with.
The plus side is that any professional carpet installer can do this job. The downside is that it will cost you more and carpet that is of good quality is going to cost you around a lot more than some of the options listed above. A lot of times this is due to the number of cuts and level of difficulty.
Removing carpet
RV flooring is relatively straight forward but you may need to remove fixtures, such as dinette benches or tables and hardware that holds them in place before you can get all the carpet pulled out of your way.
You’ll need a very good razor knife with a ton of extra blades. Carpeting dulls blades quickly and you will need to be able to cut a precise straight edge in many places. You’ll want a good metal straight edge for this work as well.
Sometimes, if you can get the carpet coming up in one corner, you can use a little momentum and pull up large pieces all at once. The carpet is usually stapled and the staples will typically pop loose once you get it going in the right direction.
Other considerations
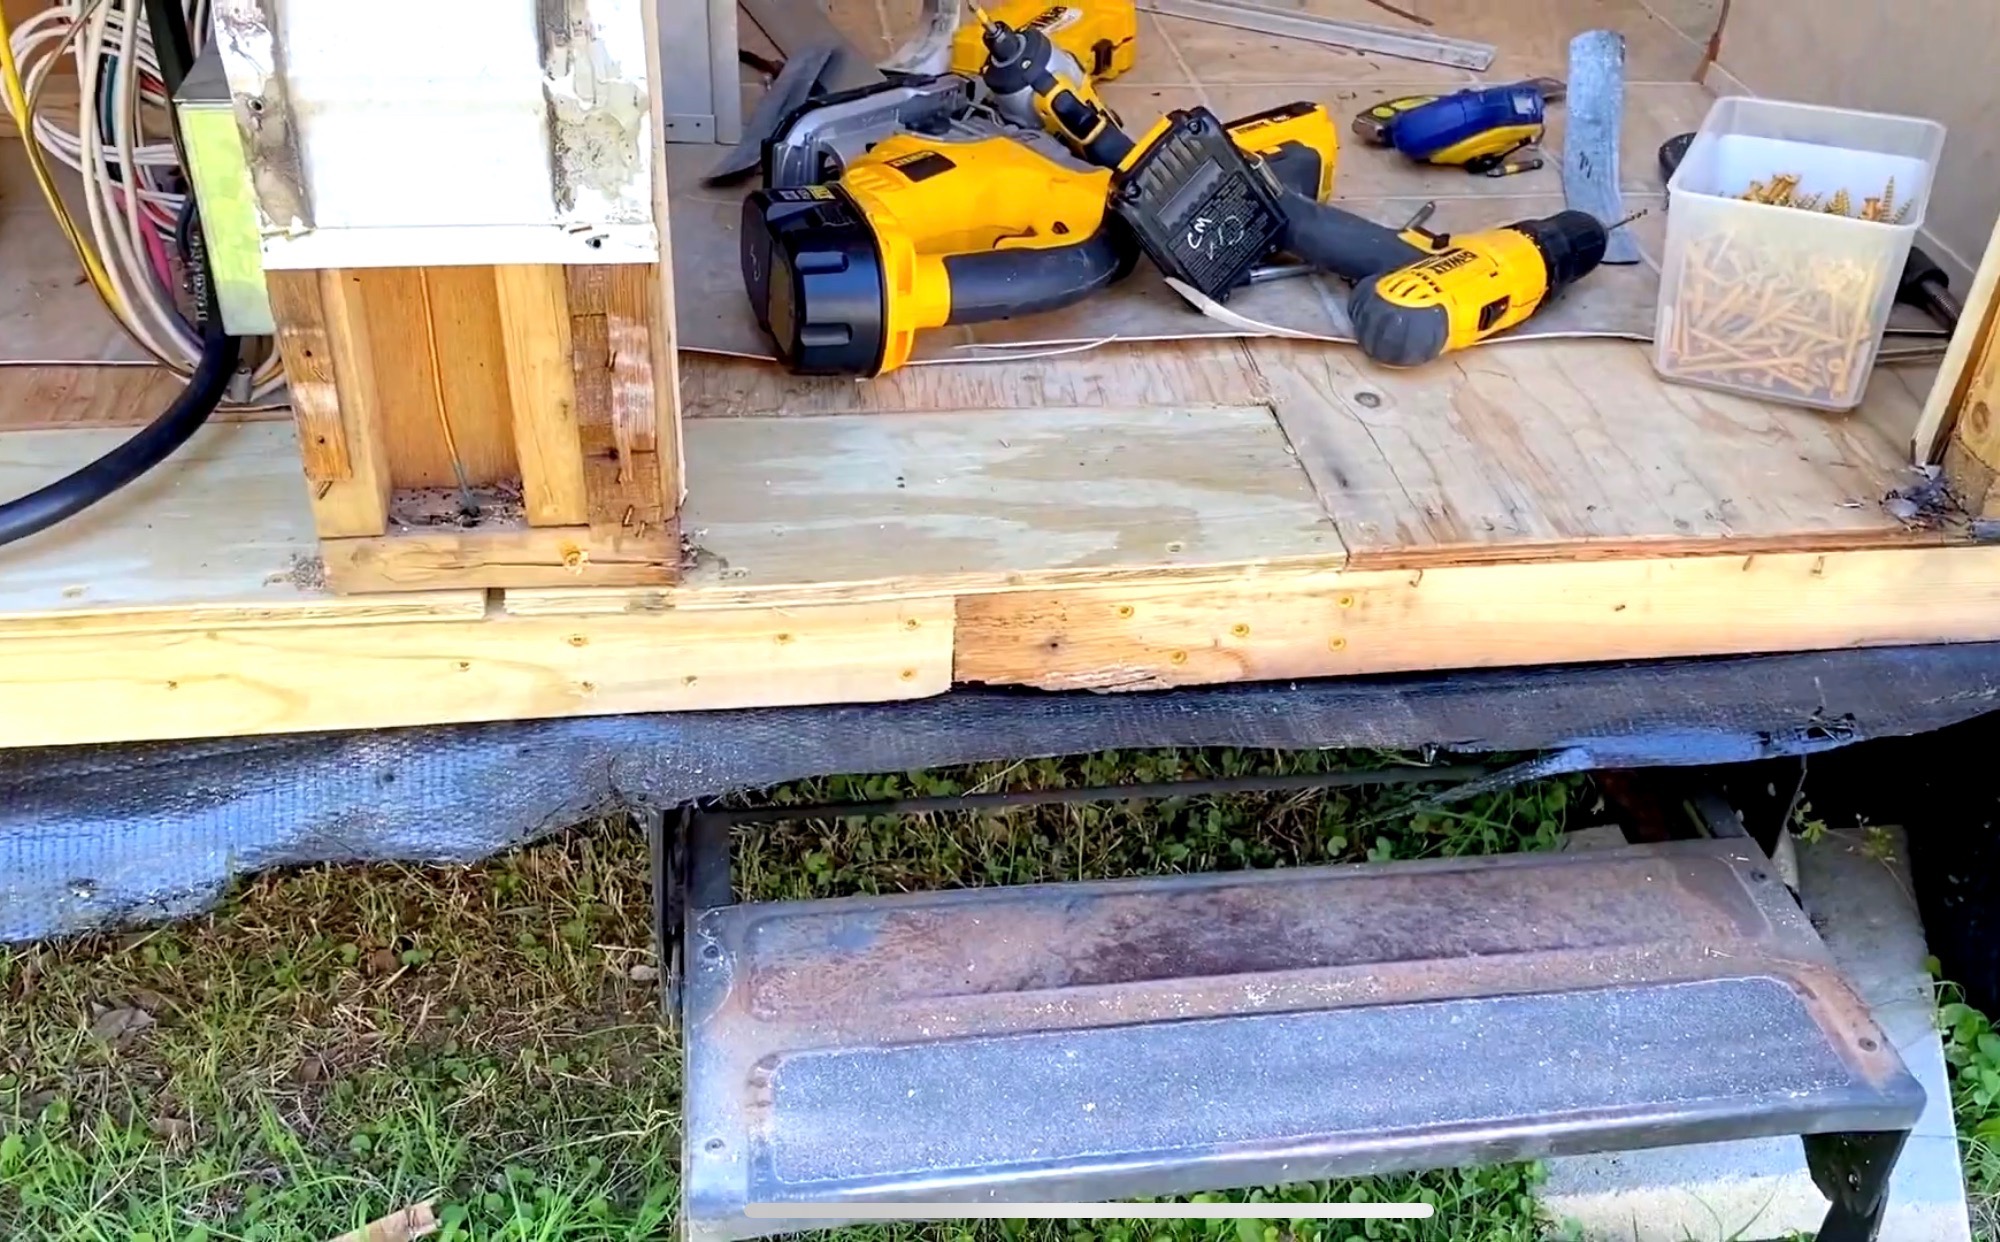
No matter which style of flooring you decide to use, make sure that it is sealed well to protect your subfloor and inspect your subfloor well before you install the new flooring to ensure that you don’t have weak spots that should be addressed first.
Remember to look into the best adhesives or glues to secure your flooring when needed. Some wood flooring is best to let float and may do better with an underlayment that helps deter squeaks and noise. This will also serve as an additional barrier to cold floors, which can be an issue in campers.
Conclusion
There are a lot of reasons you may want to upgrade your flooring. You may want it to look nicer, wear longer, and be easier to keep clean than your carpet.
Very few people who use their camper frequently are happy with the dirt in their carpeting or the way it is getting worn in doorways and aisle walkways.
With a little elbow grease, and a solid weekend of effort you can totally transform the look of your rig. The options are almost limitless and you are sure to find something to match your style and personality.



One Response
We need to replace the linoleum flooring in our 5th wheel. We do not want to go back with linoleum and my concern is that there are two slide outs that come in on the linoleum and anything we look at is thicker than current stuff. Will this cause a problem with getting the slide outs in?