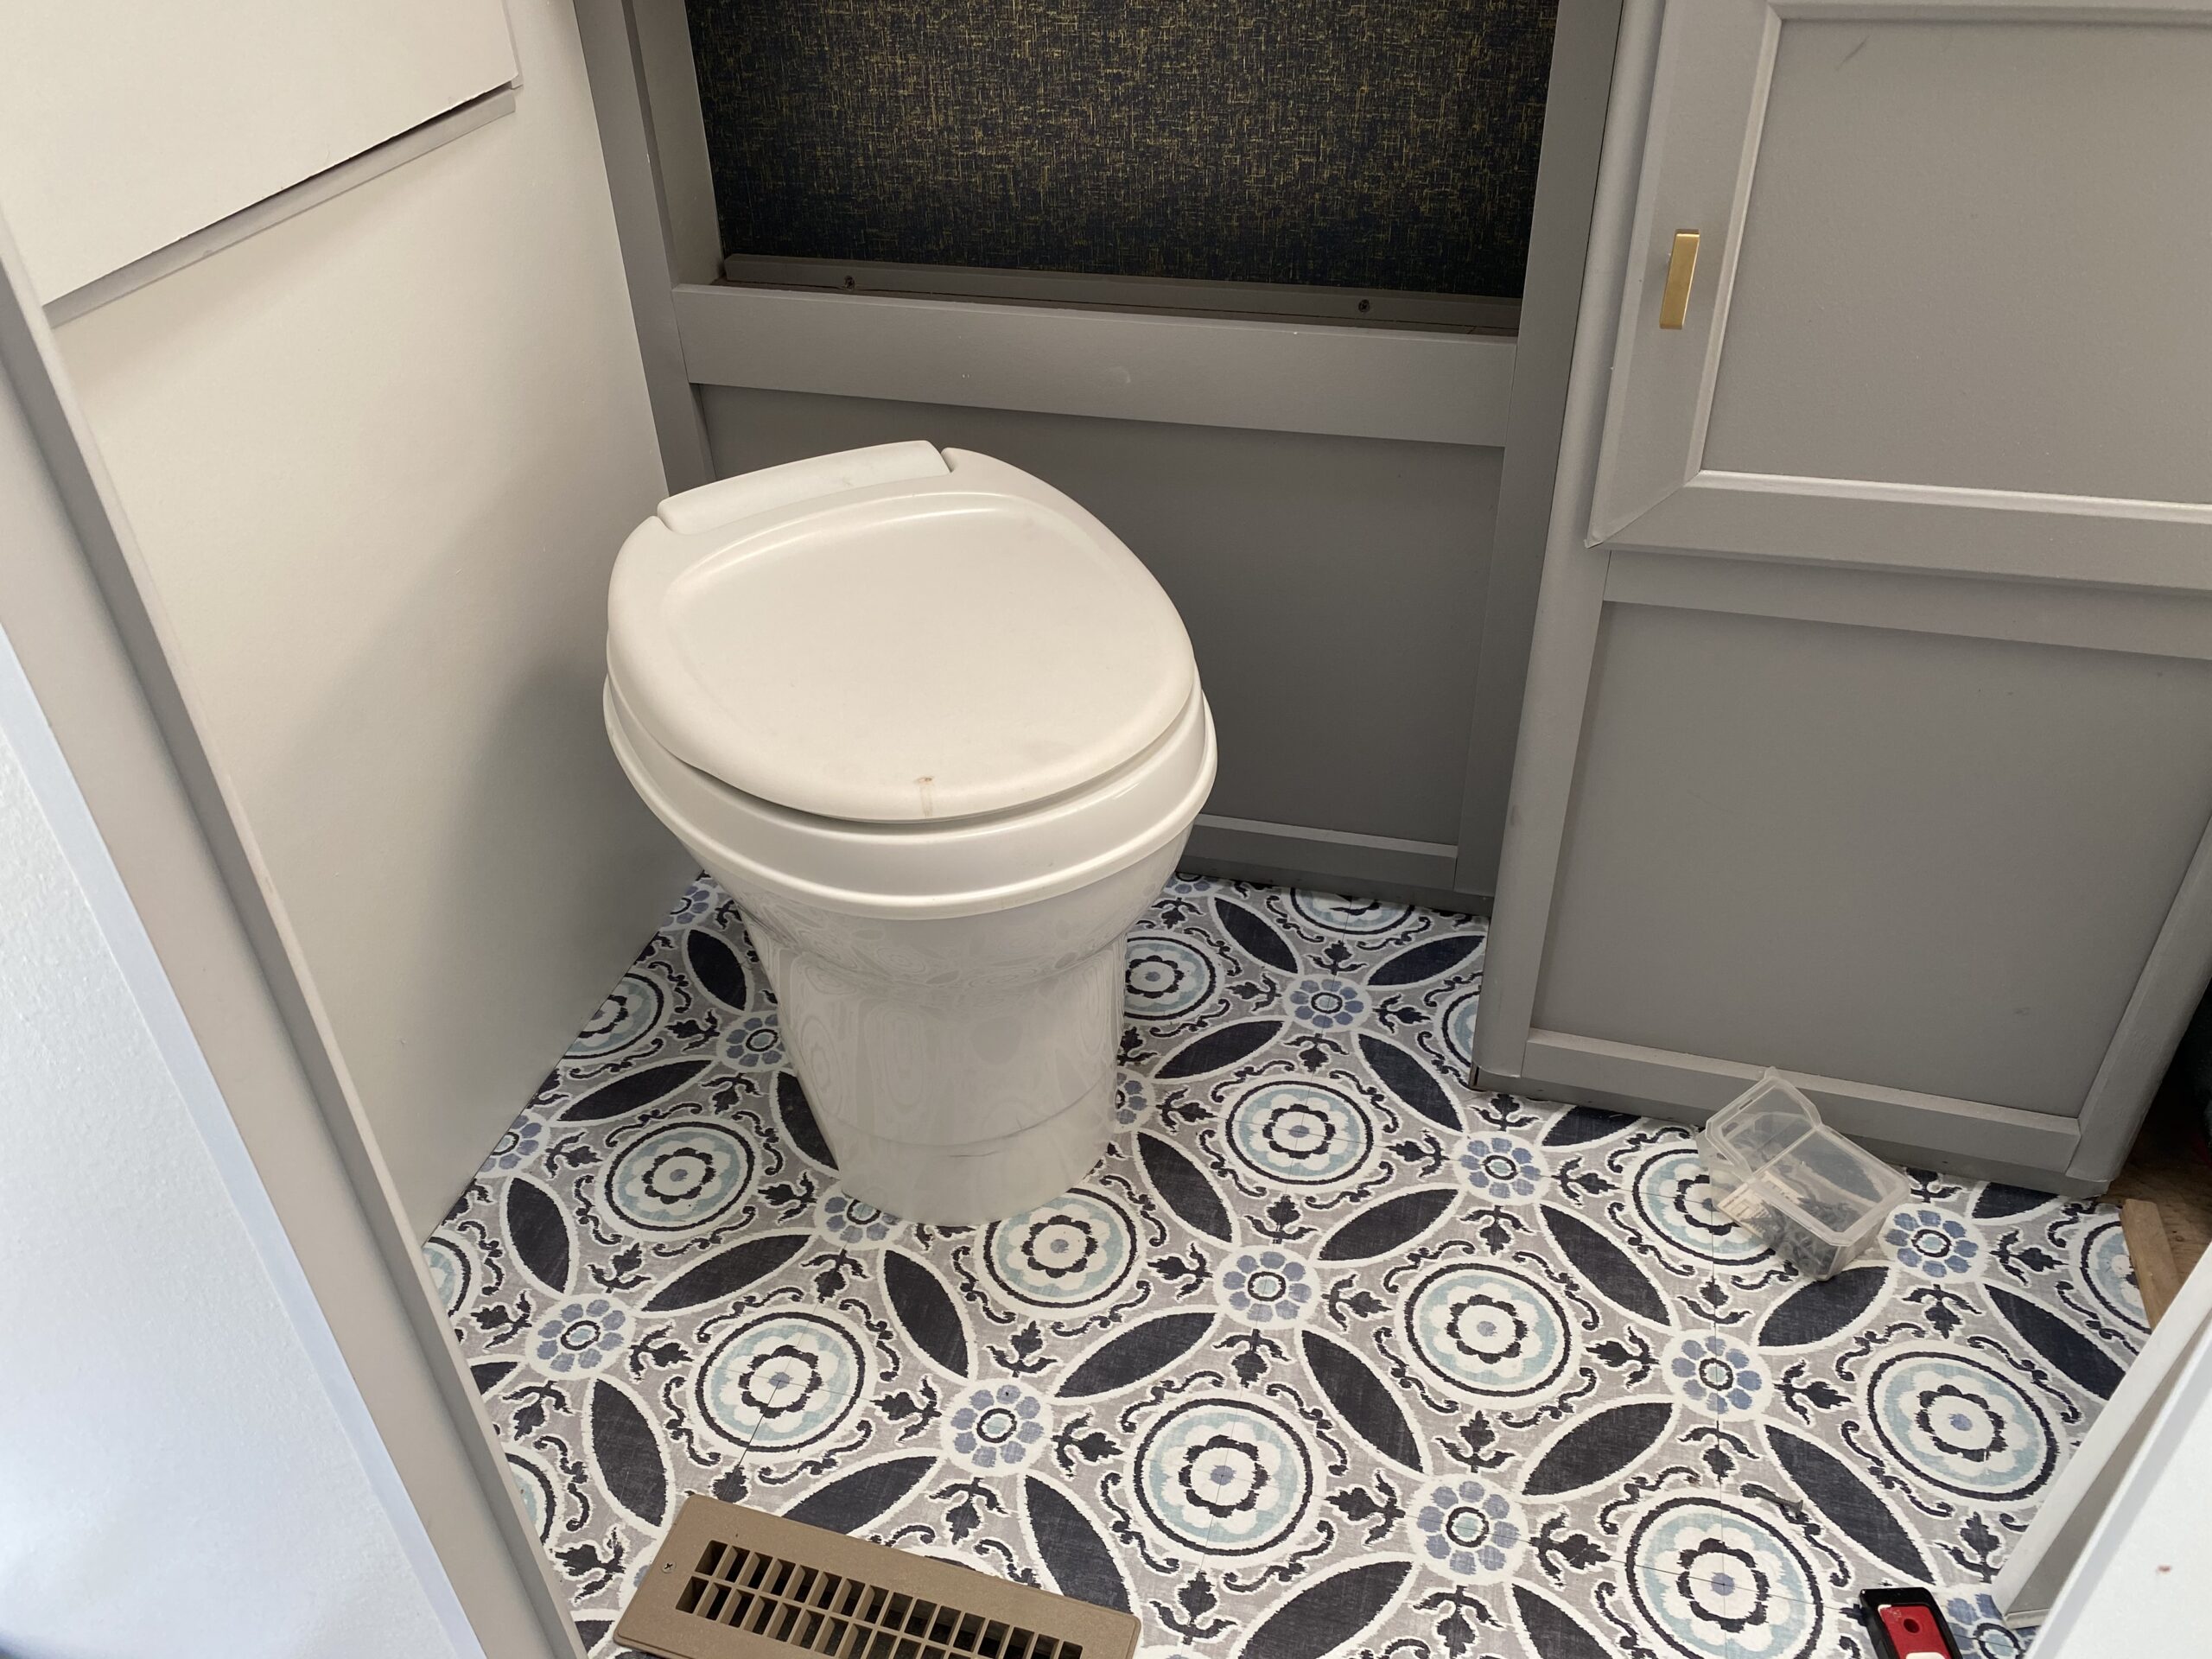
An RV toilet normally utilizes two levers (sometimes just one). One fills the toilet bowl with fresh water. And the other opens the hatch in the base of the toilet. The combination of the two is what creates an effective and sanitary flush. In the one lever option, the same lever performs both functions.
The Basics
Much like a household toilet, an RV toilet uses freshwater and gravity to dispose of or relocate if you will, human waste.
Only pushing the smaller lever will allow fresh water into the bowl. Pressing down on the bigger level (often times, when this one is depressed the small pedal, is simultaneously activated) allows the hatch of the toilet to slide open and take in what was in the toilet.

Toilets equipped with a single lever incorporate everything into one package. Pull the lever halfway to fill the bowl with water and give it a full pull to flush.
However, your job isn’t done just yet. It is very important to flush extra fresh water afterwards, especially after number 2. If it’s just number 1, refilling the bowl with fresh water an extra time is sufficient. But if you’ve just dropped off the kids at the pool (number 2), then two extra flushes of fresh water will help.
Your toilet might also come with a spray nozzle. This can be used to help rinse the bowl after each use.
Ensuring that extra water is flushed down is important for the longevity of your toilet and a happy mixture of water, waste and chemicals in the black water tank.
Speaking of which…
The Holy Trinity of Tanks
Most, if not all, RVs will come with three tanks: the freshwater, the grey water and the black water tanks. They each are relatively self-explanatory.
The Freshwater Tank
This tank is the main reservoir for the RV. Water stored in this tank can be utilized for drinking, washing dishes, bathing, and toilet function.
The Grey Water Tank
This tank is responsible for holding the water that drains from the kitchen and bathroom sinks and shower. Normally this tank is designed to only hold a combination of soap and water. The pipes for the grey tank are smaller and can clog easily from solid waste.
The Black Water Tank
Lastly, and perhaps most importantly, is the black water tank. This tank holds all the waste and water that is flushed down the toilet. The pipes are bigger and can accommodate human waste and toilet paper. It is normally prepped with a chemical mixture to help breakdown the material that reaches this tank and reduce odors.
The capacity of the these tanks will vary by the size of your rig. The bigger the trailer or RV, the bigger the tanks. On average however, the grey and black water tanks are about 37 gallons.
When choosing your RV and preparing for your next adventure, it’s a great idea to know exactly how much storage space you have in the three tanks and how that will suit your lifestyle. The last thing you want on a trip is a water shortage or a full black water tank.
Check out our full article on how to sanitize your tanks!
Dumping Time

It is inevitable that the time will come to empty your grey and black water tanks. If you’re relying on full hookups and sewage, dumping your tanks is less of a necessity. However, if you don’t have full hookups at your destination, or need to empty somewhere along the way, knowing how to vacate the tanks is vital.
Typically, the grey and black water tanks should be emptied every few days. This will depend mostly on the number of people using the toilet. This should also be done before traveling long distances because it will reduce the weight of the rig and therefore increase gas mileage.
If you don’t have full hookups at your individual site, most campsites will have sanitation (dump) stations that travelers can utilize.
If you enjoy more primitive styles of camping instead of designated campgrounds, most RV retailers across the country will also offer dumping services. You can also just stop in at a local campground to empty the tanks (for a small fee).
Check out this website for an awesome interactive map that will kelp you find dump sites near you and along your route.
The Dirty Details of Dumping

Both the grey and black water tanks have valves and hoses somewhere on the bottom side of your rig or in a compartment on the side. Once the hoses are attached between the RV and the dump station, the valves can be opened.
It is best to empty the black water first. While doing this, it is sometimes helpful to flush the toilet a few times or keep the hatch open and fresh water running. Emptying the great water afterwards helps to flush the lingering waste in the system into the dump.
Depending on the size of the tanks and the amount of waste, the process could take between 15 to 20 minutes. Most RVs or trailers will have some sort of electrical monitoring system for the three tanks. Once the grey and black tanks show empty, your (sometimes smelly) job is complete.
Running more fresh water into the tanks afterwards is a good idea. You should also add in whichever chemical treatment mixture you prefer. Shut the valves, store the hoses and hit the road.
It’s great to have hand sanitizer handy for afterwards. Keeping gloves close by can also help keep your hands cleaner during the process.
Maintaining Your RV Toilet
Much like the other components of your RV or trailer, proper maintenance for your toilet is critical for its functionality and longevity. In general, there are three items to focus on with regards to maintaining your toilet: the seals, the pipes, and the flushing system.
The Seals
- There are seals that keep your toilet from leaking onto your bathroom floor. These can become hardened overtime and loose their effectiveness. The hatch that closes the gap between the toilet bowl and interior pipes also utilizes a seal to keep from loosing water.
Utilizing some sort of seal protectant will help ensure they maintain their pliability and effectiveness. If a complete overhaul of the seal is necessary, having your owner’s manual handy to reference model numbers is helpful.
The Pipes
- Depending on your travel schedule, checking the sewage pipes a few times a year is an excellent idea. They rely on adhesive to stay connected and sometimes it can breakdown and cause a leak. If you suspect a leak, go over the pipes and their various connections and replace sealant where necessary.
The Flushing System

Think of this as an interior sprinkler system for your black water tank. If you’re lucky enough to have one of these come stock in your rig, your tank is due to keep itself cleaner and operate more efficiently.
Installing one after-market is also an option. An additional flushing system helps break down waste (in conjunction with the chemicals) and ensures your black water tank stays cleaner, longer.
Oh the Places You Will Go
Well, now that you know more about RV toilets, it is time for your next road trip! Like any good king or queen, keep your throne clean and functioning properly and you will be so much happier whilst traveling the open road.


