You can make an old RV look new by painting a fresh exterior coat, updating the flooring, modernizing the furniture, adding plants, redoing the kitchen, updating the bathroom, changing the wallpaper, and accessorizing the interior.
We’ll cover 10 brilliant hacks to make your old RV look new again. We include step by step instructions so you can easily renovate your rig and add a splash of your personality. So, let’s get started!
Paint a Fresh Coat

Redoing your RV’s paint job can radically alter its appearance. Choosing fresh and modern colors or even choosing a mural design is an effective way to make an old RV look new.
When choosing new paint for your RV, it’s important to choose a variety that is:
- Resistant to rust
- Resistant to sun and water damage
- Suitable for exterior use
We recommend a paint spray gun for even coverage.
How to Paint an RV Exterior
- Clean the exterior of the RV with soap, water, and a clean rag. Allow it to dry.
- Use light sandpaper to smooth any rough patches.
- Use masking tape to cover any places you don’t want to paint, such as the windows and door. You can also cover the windows with brown paper.
- If your paint does not have an in-built primer, use a paint spray to cover the RV with primer. Allow it to dry and apply 2-3 coats as needed.
- Use a paint sprayer to cover your RV in your desired paint. Apply 3-4 coats or as desired.
- Once the paint is fully dry, use 2 coats of sealer to finish the job.
If you would prefer a colorful mural for your RV exterior, you can try your hand or employ a graffiti artist. Follow the same steps as above, but skip step 5 and instead use colorful spray paint to create your desired patterns.
Update the Flooring

Changing the flooring in your RV is time-intensive but can radically alter the appearance of your vehicle.
Many RVs come equipped with carpet, which has an outdated look and also absorbs dirt and stains. Updating the flooring to a vinyl, laminate, or wood base can immediately modernize the interior of your RV.
Vinyl is one of the best options to replace RV flooring because of its versatility. It is resistant to water damage and you can clean it easily. This is essential in an RV where dirt and mud can be tracked in from the outside.
Laminate is another option. It is attractive and installation is a breeze. However, it has less resistance to water, so it’s not the best long term option.
Wood flooring is attractive and modern but can be impractical for an RV. You will need to maintain it more, and it can add extra weight to your vehicle.
Depending on your needs, all are possible options for your RV. We’ll take you through how to install vinyl flooring because it is the most common choice.
How to Install Vinyl Flooring

- Pull up the old flooring and use a vacuum cleaner to remove any residual dust or dirt.
- Use sandpaper to smooth the edges of any raised areas and fill any gaps or holes in the ground with a gap filler.
- Roll out the vinyl flooring and leave it exposed for 30 minutes. Make sure to roll it with the decorative side facing up.
- Measure the space that you need to cover with the flooring and mark the measurements on the vinyl. You can also make a template from the shape of the original flooring.
- Use sharp scissors or a knife to cut the vinyl.
- If your vinyl flooring is not self-adhering, use a trowel to cover the RV floor with floor adhesive. We recommend Roberts.
- While the adhesive is still wet, place the vinyl flooring on top, taking care to reach all of the edges.
- Roll a paint roller on top and apply force to remove air bubbles.
- Trim any excess off the edges with a razor blade or scissors.
- Use a wet, soapy brush to remove any floor adhesive spills or stains and allow it to dry.
- Remove any dried floor adhesive with adhesive remover.
This handy video shows you how to execute the steps and install new RV flooring:
Modernize the Furniture
If your RV furniture is looking a little more retro than contemporary, changing up the furniture can instantly modernize the space.
The sofa is the focal point of the living space in an RV. However, rather than completely replacing it, you can instantly modernize it by sewing a slipcover. You can choose a contemporary pattern or a simple block color that fits the color story of your vehicle.
The following instructions are for a jackknife sofa, which is a common addition to many RVs.
How to Sew a Sofa Slipcover
- Remove any cushions or other items from the sofa.
- Pull the fabric over your couch to determine its width.
- Tuck the corners of the fabric around the bottom corners of the sofa and pin them to mark the spot.
- Trace over the pins with a pencil on the underside of the fabric.
- Use a long stitch on the sewing machine to sew the corners.
- Tuck the back of the cover into the sofa
- Cut out a square from the top part of the slipcover to fit around the sofa hardware.
- Fold it in half and cut out the same square on the other side.
- Cut off any excess fabric.
- Tuck the top cover around the sofa to find the corners and follow steps 2-4 with the top cover.
- Pull both slipcovers tight around the sofa and replace the cushions.
This detailed video shows you exactly how to sew it:
Add Some Greenery
Indoor plants are an excellent way to bring new life to your RV – literally!
Plants are a fresh and colorful addition that can update your RV’s aesthetic. They also have health benefits. Through the process of photosynthesis, plants freshen the air by removing carbon dioxide and producing oxygen.
Plants also provide the following benefits:
- They improve concentration and memory.
- They reduce stress and symptoms of depression.
- They can increase feelings of compassion.
When choosing plants for your RV, they should meet the following criteria:
- Low maintenance
- Low sunlight needs
- Small to medium size
The following plants are proven to thrive in an RV environment with minimal watering and exposure to sunlight through the windows:
- Peperomia
- African Violet
- Air plants
- Kalanchoe
- Succulents and cacti
- Begonia
You can introduce plants to your living space by using hanging planters or pots. You can also use containers to grow vegetables and herbs.
How to Make Container Planters
- Find small pots, old cans, or repurpose old buckets to use as the base of your planters.
- Poke holes in the bottom of the planters to allow drainage.
- Fill the bottom of the planters with stones and cover with soil.
- Insert the plant so that the base is level with the soil. Pack the soil tightly and water.
- Place the planter on a shelf, in the cupboard, or make a hanging planter.
A hanging planter is the best option for larger and heavier plants that can’t be put on a shelf. You just need to be careful not to take quick turns or brake suddenly while driving, or you might spill soil all over the RV floor.
Depending on if you want to drill holes in your RV, you have some different options for hanging planters:
- Use adhesive hooks from the ceiling
- Use suction cup hooks for lighter plants
- Use magnetic hooks on metal surfaces
- Hang planters from over-the-door hooks
When you choose your hooks, make sure to check how much weight they can handle. If your plants are too heavy, they can detach and break.
Redo the Kitchen
The kitchen is the heart of the home, even when your home is on wheels. It can also be one of the most old-fashioned looking spaces in an old RV.
Short of tearing out the kitchen and replacing it completely, there are several things you can do to update your RV’s kitchen decor.
Kitchen cabinets are the main focal point in your RV kitchen because they take up the most space. Choosing a new color theme and giving them a fresh lick of paint can instantly transform your RV kitchen into a modern space.
How to Redo the Kitchen Cabinets

- Remove the cabinet doors and label them with tape so you can replace them later.
- Use a drill to remove all cabinet hardware from the wooden panels.
- Lie a painting drop sheet on the ground in a ventilated space and place each kitchen cabinet face up on the sheet.
- Use sandpaper to sand any rough edges.
- Use a paintbrush and paint roller to cover the back of the cabinet doors in paint primer. You can also use a sprayer if you are set up for it. We recommend Rust-Oleum 286258.
- Allow them to dry, flip them over, and repeat the process on the front of the cabinet doors.
- Repeat steps 4-5 to sand and prime the cupboard bases inside the RV.
- Use latex paint to paint the back of the cabinet doors.
- Allow them to dry and paint the front of the cabinet doors. You may need to apply 2-3 coats per side.
- Spray paint the cabinet hinges and screws with a metallic finish paint.
- Spray paint the cabinet handles with the same metallic paint or purchase new ones that fit your desired color theme.
- Replace all cabinet hardware and put the doors back on once everything is dry.
- Use a paintbrush to cover the surfaces in a polyurethane satin finish to avoid any chips or damage.
This fun video shows you a complete makeover of an RV kitchen:
You can also update the backsplash tiles with minimal effort. Rather than ripping out the tiles and putting new ones, stick-on tiles are an excellent budget option. We used Tic Tac Tiles.
How to Update Backsplash Tiles

- Clean your existing kitchen tiles with soap and water to remove grime. Allow to dry.
- Measure the space and cut the tiles to size with a retractable knife or scissors.
- Remove the paper backing and adhere the tiles to the backsplash surface.
- Update the Bathroom
Bathrooms in RVs are generally small, but you can do a lot with the space to modernize the look.
Like with the kitchen, you can repaint the space. Changing the showerhead is also an effective way to glamorize the bathroom and instantly improve your showers.
How to Upgrade the Showerhead
- Remove the hose of the old showerhead.
- Insert the washer of the new shower hose and screw it tight into the water pipe.
- Insert the washer in the other end of the shower hose and screw in the cutoff valve.
- Screw the showerhead into the other side of the cutoff valve.
- Unscrew the old shower mount and remove it from the wall.
- Use silicone to fill the drill holes left behind by the original shower mount.
- Cover the back of the new shower mount in silicon and screw it into the wall.
This detailed video takes you through the entire process of replacing the showerhead:
Repainting the bathroom is another effective way to drastically change the appearance of your RV bathroom. By choosing modern color combinations, you can quickly transform the look of the space.
How to Repaint the RV Bathroom

- Clean all surfaces with a clean rag and a degreasing cleaner to remove all dirt and grime.
- Spray the sink, bathtub, and toilet with bathroom-specific epoxy paint. We recommend Rust-Oleum 280882. Make sure to wear a respirator during this step to protect your lungs. You may need to apply up to 3 coats.
- You can replace the door fixtures or use a different color spray paint to spray all the fixtures.
- Use sandpaper or Krud Kutter to prepare the door and bathroom cabinet.
- Remove the bathroom cabinet door and use a paintbrush to cover it in an oil-based primer. Allow it to dry.
- Use a primer on the bathroom walls and door. Allow it to dry.
- Use a paintbrush and paint roller to paint the bathroom cabinet, door, and walls of the bathroom. You may need to apply 2-3 coats.
- Create a backsplash by cutting stick-on tiles to size and adhering them to the wall behind the sink. Again, we used Tic Tac Tiles.
This video gives an excellent example of how to transform your RV bathroom into a light, modern space:
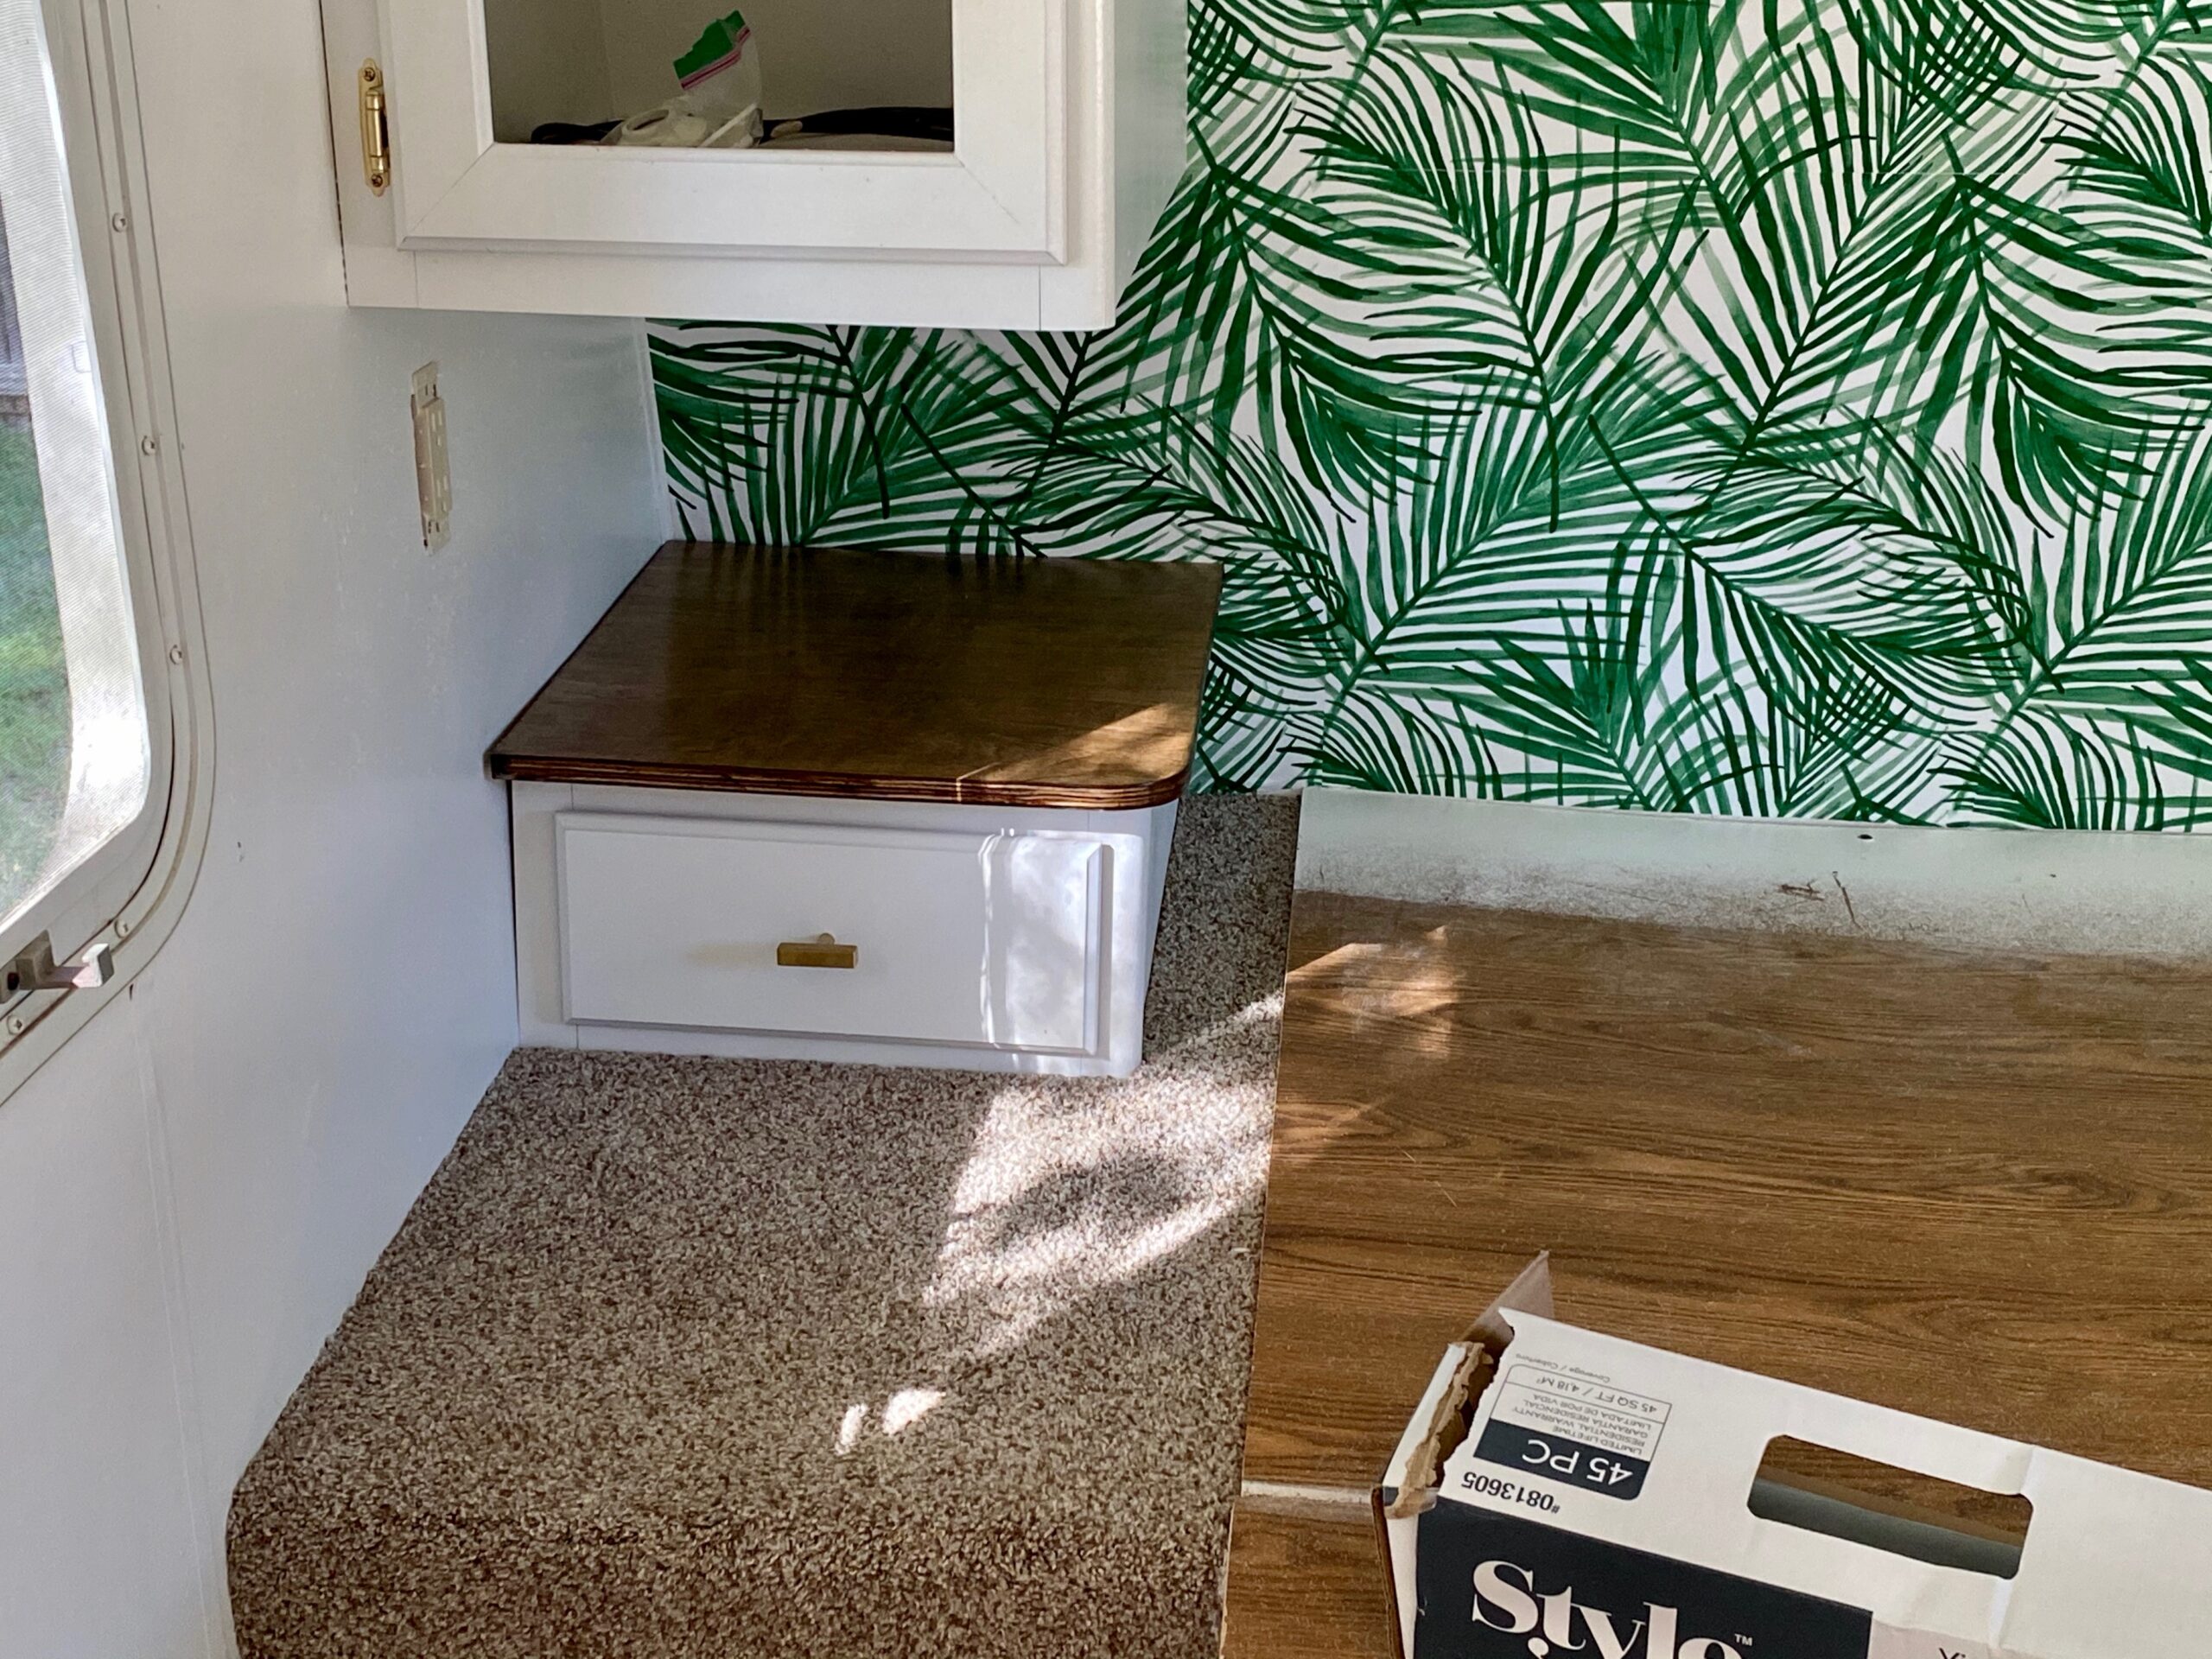
Change the Wallpaper
The interior paint job of your exterior is just as important as the exterior. Many older RVs have outdated wallpaper that keeps the vehicle from looking modern.

Thankfully, peel and stick wallpaper exists. This allows you to add a fresh look to your vehicle while minimizing the labor and time needed. We used a Tropical peel and stick wallpaper from Target.
This is a 2-step process. For the best results, you need to remove the old wallpaper and then stick on the new wallpaper.
How to Remove Old Wallpaper
- Heat the space with a small heater or use a handheld steamer directly on the wallpaper. We recommend a space heater or the Wagner Spraytech.
- Use a pen knife to create vertical scores in the wallpaper.
- Push at the corners of the wallpaper with the paint scraper to peel it off the wall.
- Use your hands to peel it with the wood grain.
- Once all the wallpaper is removed, clean the walls with soap and water, and allow it to dry.
This article goes into some additional detail on this process: How to Remove Wallpaper in an RV
How to Install New Wallpaper
- Wipe the walls down with a damp cloth to make sure they’re clean and free of dirt.
- Roll out your wallpaper and place books on top as weights to flatten it.
- Measure each section of the wall that needs wallpaper and mark it on the wallpaper.
- Use scissors or a retractable knife to cut the measured sections of the wallpaper.
- Hold the wallpaper in position against the wall and use a credit card to smooth it against the surface.
- Lift the paper slightly at the top, and start to remove the adhesive backing.
- Stick the paper to the wall as you remove the backing, taking care not to fold or crease the wallpaper.
- Use your credit card to smooth the paper and remove any air bubbles.
This simple video walks you through the process:
Accessorize the Interior
If you’re looking for smaller projects that you can do to make your old RV look new, then small accessories can dramatically transform the look of your vehicle.
Christmas or fairy lights add beautiful ambient lighting to your RV at night. We recommend the Sanniu Led String Lights. You can string them around your RV and fix them in place with electrical tape or mounting hooks.
Sofa cushions are another excellent way to modernize your RV. You can sew new cushion covers and a matching duvet for your bed to brighten up the space. We recommend going to your local fabric store and finding a vibrant color or pattern that will fit the theme of your RV.
You can use this formula for sizing your cushion:
- Width= (insert x2) + 6” (15.24 cm)
- Length= insert + 1” (2.54 cm)
How to Sew Cushion Covers
- Measure your cushion and apply the formula from above.
- Cut the fabric and lie it face down
- Fold the short edges over ¼” (0.64 cm) and iron them flat.
- Fold them over another ¾” (1.91 cm) and iron flat again.
- Use a sewing machine to hem the folded edges
- Flip the fabric face up and fold both sides inwards so that they overlap by 4” (10.16 cm).
- Fold the bottom and top sides over ½” (1.27 cm) to make another seam and sew it.
- Turn the cushion cover outside in, so the pattern is now on the outside.
- Iron the cover to remove any wrinkles or creases.
- Place the cushion inside.
This video shows you how to sew cushion and pillow covers in no time:
If you really want to complete the modern look, you can sew a duvet cover in a matching fabric. To make the duvet, you will need to sew 1 main panel and 2 side panels, as well as a back panel made from a flat sheet.
You can use the following formulas to correctly fit the fabric to your bed:
- Main panel: Add 1 inch for seams on the length and match the width of your duvet
- Side panels: Add 1 inch for seams on length and width is half of the main panel, with an additional 2 inches for seams
- Flat sheet (back panel):
How to Sew a Duvet Cover
- Measure your duvet and use the above formulas to cut one main panel and 2 side panels from your fabric.
- Place the side panels on either side of the main panel and pin the edges on the long side.
- Use your sewing machine to stitch the panels together, leaving ½” (1.27 cm) for a seam.
- Open the seam allowances.
- Cut 16” (40.64 cm) off the top finished edge of your flat sheet back panel. This is the duvet envelope flap.
- Cut the flat sheet back panel to fit your main panel, with an allowance of 8” (20.32 cm) that overlaps with the envelope flap.
- Fold ½” (1.27 cm) of the flat sheet back panel and sew it to create a seam.
- Pin the flat sheet back panel and the envelope flap together on the raw edges. Leave it open at the ends with sewn seams.
- Pin the flat sheet back panel and the main panel together along the sides. Position them so that the back panel overlaps the duvet envelope flap by approximately 6” (15.24 cm).
- Use pins around all the outside edges.
- Use your sewing machine to sew all the edges, allowing ½” (1.27 cm) for a seam.
- Flip the duvet cover outside in, so the main fabric is facing out.
- Use a hot iron to press the fabric and remove any wrinkles.
- Cut three 8” (20.32 cm) strips of snap tape and sew them evenly along the envelope flap opening.
- Split the tape in half, so when you close it, it closes the duvet cover.
- Use a zig-zag stitch to fix the snap tape to the duvet.
- Put your duvet inside the cover.
We recommend using this step-by-step guide that includes photos.
Our final hack for accessorizing the interior of your RV is to include mirrors or artwork on your walls. This can add a fresh look as well as a reflection of your personality. We recommend the Mkono Macrame Wall Hanging Mirror for a bohemian look.
Depending on the weight of the mirror or artwork, you have a few different options for mounting:
- Mounting brackets
- Adhesive mounting tape
- Mounting hooks
Make sure to check on the packet that your chosen mounting method can support the weight of your accessory.
Summary
In summary, there are various things you can do to make an old RV look new again.
These include:
- Repainting the exterior
- Installing new vinyl flooring
- Sewing a slipcover for the sofa
- Installing hanging planters
- Repainting the kitchen cabinets
- Updating the backsplash tiles
- Renovating the bathroom
- Changing the wallpaper
- Adding fairy lights
- Sewing a duvet cover and matching cushion covers
- Mounting mirrors or artwork
As always, when working with paint, take care to wear a respirator or face mask to protect your lungs from the toxic fumes. We also recommend doing any painting in a well-ventilated area.
While some of these hacks are time-intensive, they’re all simple enough that you can make a real difference to your RVs appearance. With a little DIY know-how and quality products, you can transform its aesthetic.


