At some point during your tenure as an RV owner, either now or in the future, you will probably want to update the look of your walls.
RV’s are notorious for using patterns and prints of wallpaper that quickly fall out of popularity and start to show their age. That is why you are here.
A viable option is to paint your walls a color more in line with your style. This is a natural part of remodeling or renovating your RV. However, is it as simple as it seems? Can you just slap a coat of paint on the walls and forget it?
Let’s take a look at the process!
Tools and Materials
- Soap and Water
- Paint roller
- 3/8″ nap roller cover
- Paint tray
- 1.5″ paintbrush
- Drop cloth
- Primer
- Paint
- 200 grit sandpaper
- Sanding block or electric sander
Here is a quick list of the tools and materials you will need for this project. I will include links to the products I prefer but feel free to use what you have experience with.
Prep the walls
Cleaning
In order to clean the walls of your RV prior to painting, all you need is a washcloth or sponge, a little Dawn soap, and some hot water.
Fill a bucket or bowl with hot water (don’t burn yourself) and add a couple of drops of Dawn Soap and mix well.
Use your applicator of choice, either a washcloth or sponge and use your mixture to scrub the walls. Pay special attention to areas that may have grease or other types of buildup. Clean these areas extra well. Make sure you don’t leave any soap residue when you are done.
Once you have cleaned all the walls you are going to paint, let them dry overnight.
Remove Valances
This is an easy step. The easiest solution is to use a corded or cordless drill, but you can also do it by hand.
Make sure you have the proper tool for the type of screws you will be removing. For instance, in my camper trailer, the valances are attached with square-drive fasteners. This is not a bit or tool everyone has in their toolbox.
Make sure you have the proper tools ahead of time and removal will be super easy. Also, I like to keep a Ziplock style bag to store my screws as they are being removed. I then take a permanent marker and label the bag to use if/when you are ready to reinstall.
Sand
Once the wall is bare, it’s time to sand. Sanding is not always needed for paneling, but for panels that have a smooth or shiny finish, you need to lightly rough up the surface to help the paint adhere better.
I prefer to use 200 grit sandpaper, which will lightly rough up the surface without damaging anything. You can use a cheap and simple sanding block or if you have it, you can use an electric sander. If you use an electric sander, just make sure you use it lightly.
Once you have sanded everything, wipe everything down again to remove any dust or leftover mess.
Tape
I feel like taping your edges is one of the most critical steps in the painting process. It can make the difference between a professional-looking job and one you won’t be proud of.
Some folks will recommend you freehand the edges with an angled brush, but I don’t recommend this if you aren’t familiar with painting. It’s much hard to get a clean line and your job will end up looking sloppy.
Buy some quality painters tape and take your time creating a nice straight line on every edge where you will be ending your new paint. Make sure it is pressed into place and that it is adhering well. This will create super clean lines.
Cover up
This is another step, like taping, that is your call. Some people will tell you to just be careful. That works if you don’t mind trying to get a paint stain out of your fabric couch.
A plastic drop cloth is so cheap, there is really no reason to not use one. It’s simple…open the package, take out the drop cloth, unfold it, and cover whatever you want to protect (floors, furniture, appliances, etc.). You won’t regret it.
Prime and Paint
Edges and Corners
Since you have already taped your edges and corners and covered up everything with your drop cloth, it’s time to start priming and painting. If you are using a paint with built-in primer (my choice), you can get busy with that one product. If you are using a separate primer and paint, you will perform the process below first with the primer and then with the paint.
The first thing to do is to paint around the edges where you have taped off. Pry the lid off of your paint can and use a stir stick to make sure the paint is mixed really well.
Now that your paint is mixed pour some into your paint pan. Alternatively, you can also use something like a plastic Solo cup. I prefer to use a Solo cup because it is easy to carry around and comfortable to use.
Paint around all the edges where you have taped working your way around your project. I prefer to paint top to bottom on the vertical sections because it helps me manage any excess paint that may try to run. The horizontal portions can be painted in either direction.
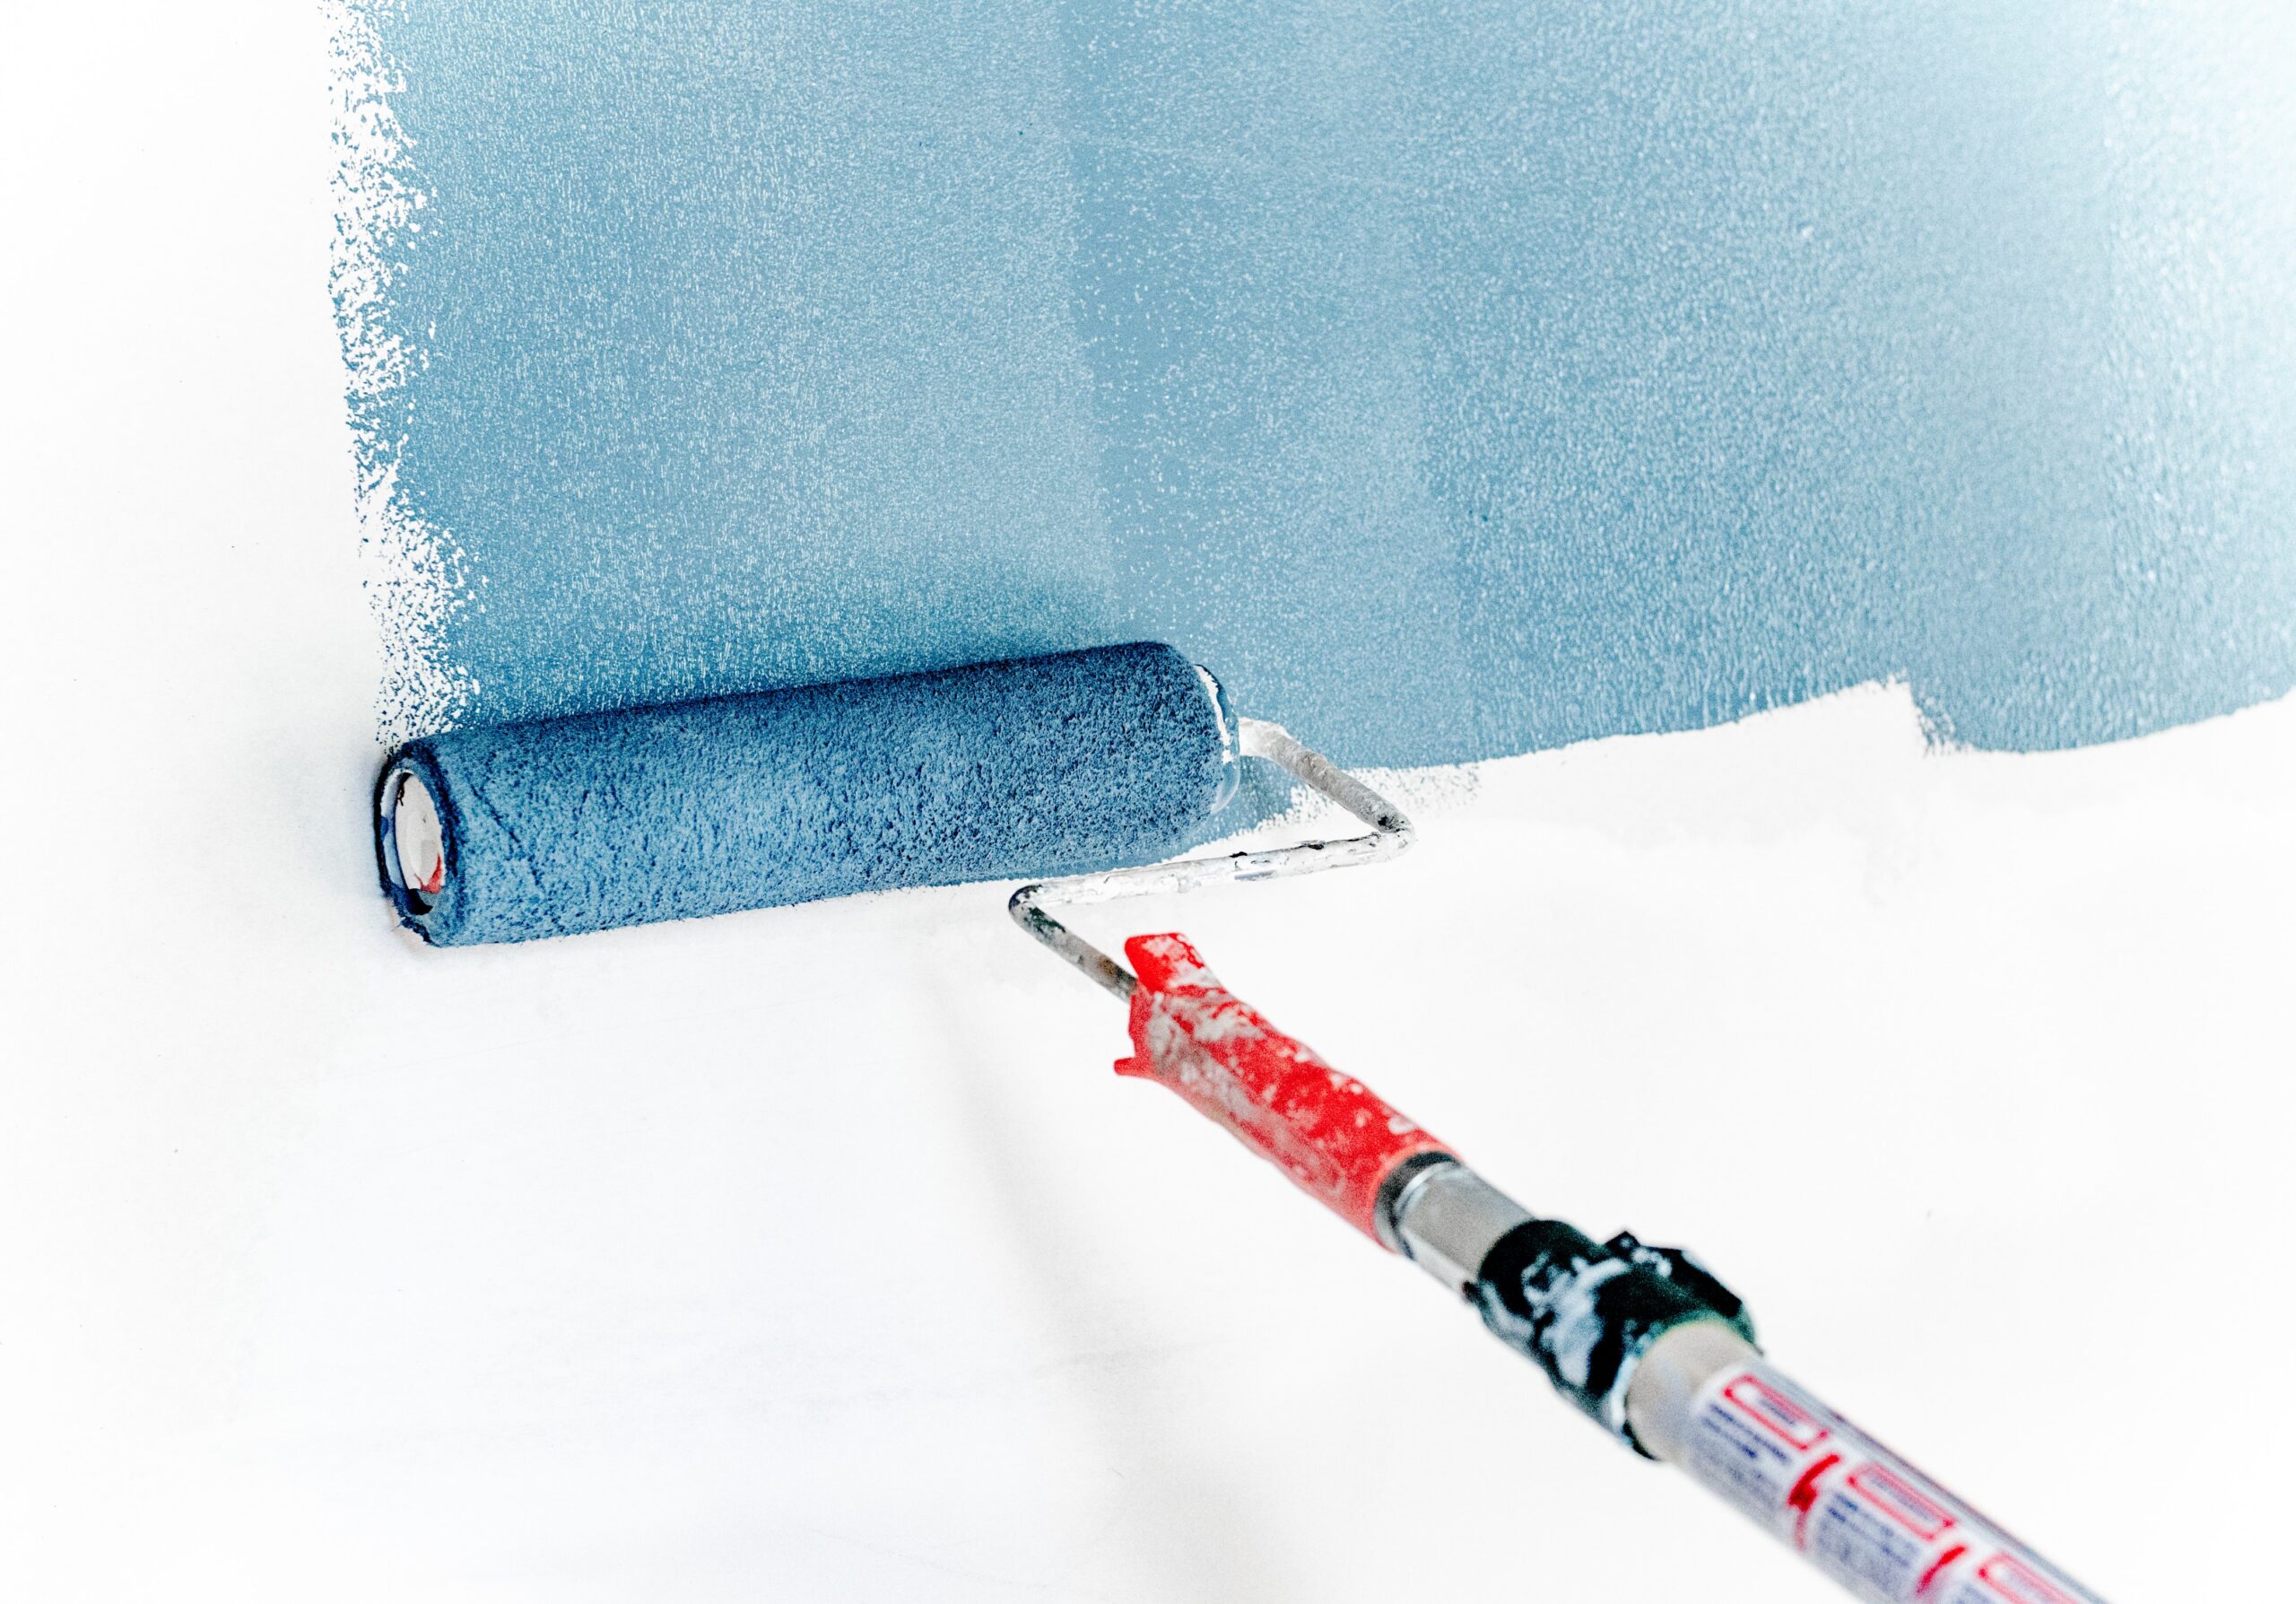
Wall
Now that the edges and corners have been painted, it’s time to roll the wall. Again, if you are using a paint and primer combo, you will just be dealing with one product. If not, you prime first, then paint.
Just like you did with the edges, start at the top and work your way down in one direction. Again, this will help with any runs or drips. If you notice either, smooth them out with the roller as you progress.
Be sure to allow the first coat to dry and then make the call whether you need a second coat or not.
Remove Tape
Remove any of your tape just before the paint dries or you run the risk of “tearing” the paint during removal. If this happens, it will create a jagged, unsightly edge.
If the paint dries before you are able to remove it, you will need to use a straight edge of some sort to lightly cut/score the edge where the tape and paint meet prior to peeling it off.
Touch up
Once everything has dried and you are happy with the coverage, check everything again for imperfections or anything you may have missed. If you find anything, just touch it up with your paintbrush.
Damaged wallpaper
If you do not want to see edges, imperfections, etc., don’t paint over torn or damaged wallpaper. In this scenario, your best bet would be to remove the wallpaper prior to painting.
If you find yourself in this position, we recently wrote a post on RV Repair – How to remove wallpaper. Be sure to check it out ahead of time.
Conclusion
Hopefully, this outline will clear up or remove any hesitancy you may have about tackling a project like this. Regardless of skill level, I have no doubt you can knock it out of the park.
Do me a favor, once you finish your project be sure to reach out and let us know how it turned out.


