There’s a saying in the RV, camper trailer and travel trailer world that basically states there are folks who either have a water leak or those who are going to get a water leak. So, with that in mind, we are going to be talking about how we can prevent water leaks before they ever start.
What to do
Roof Inspection
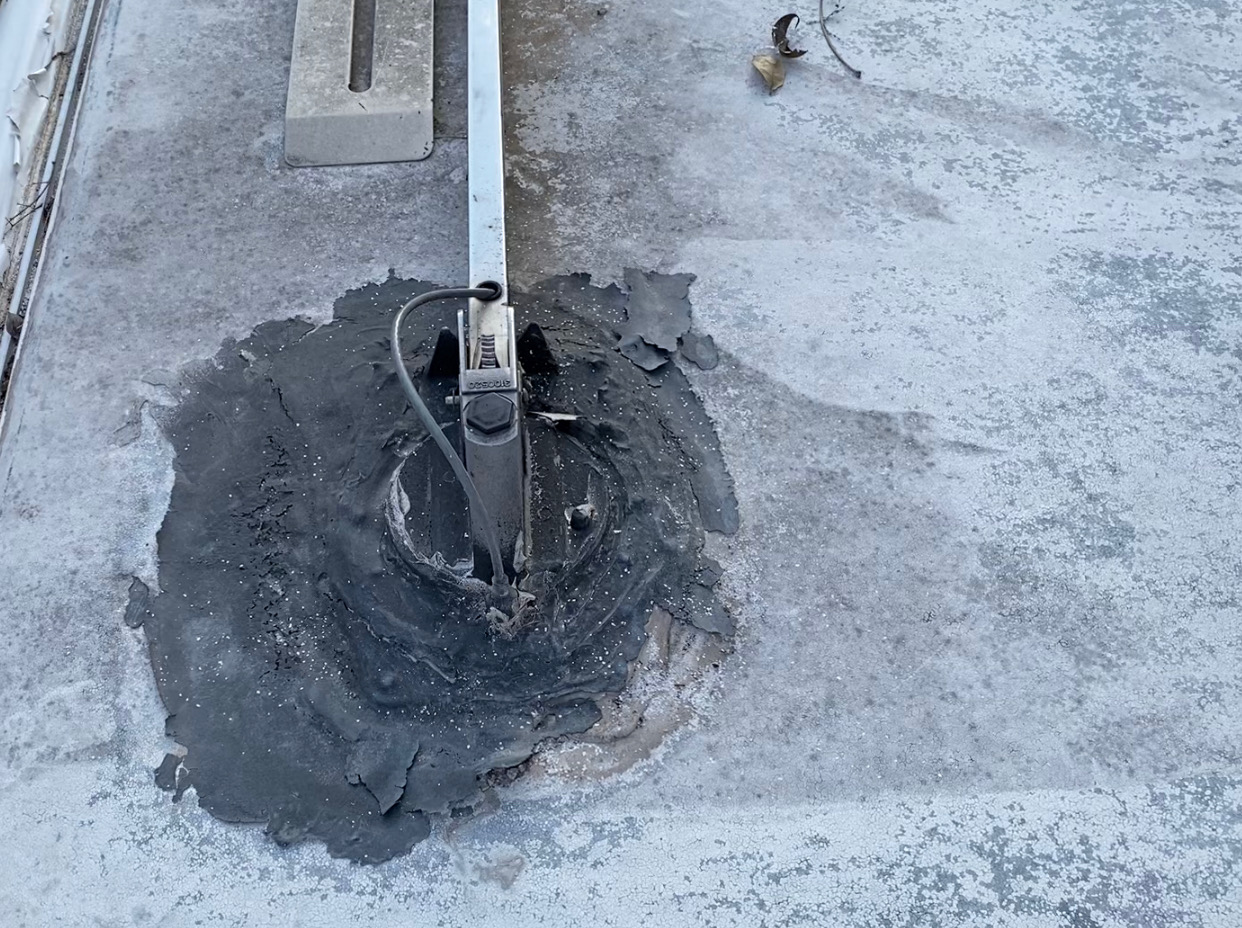
Like it or not, one of the first things you’re going to have to do is get up on your RV’s roof to do an inspection. Primarily, you are going to be focusing on your sealant.
You are specifically looking for any areas like look compromised in any way. Some of the visual indicators may include cracks, separation, or dry-looking appearance. When in doubt replace it.
Also, if you find any indication of water coming in from the roof, you should immediately address those issues before they are allowed to grow into something bigger. Ask me how I know.
Clean and Prep
Now that you have identified the areas you need to reseal, it’s time to clean them up to get ready for the new sealant. It’s pretty obvious that you need to remove old, dried, cracking sealant, but is that it?
As a measure of safety, I like to repair beyond the obvious damage to make sure everything is covered properly. I’m a little paranoid myself, and on areas around vents, skylights, etc., I like to go ahead and replace all the sealant at one time. Then I have peace of mind related to leak prevention.
Denatured alcohol is great for cleanup once the old sealant is removed. Simply use an old rag and wipe down every surface where the new sealant is going to be applied. The alcohol will dry quickly and help create a surface that will more easily accept a good bond with the sealant.
Another option you can use is acetone. As with the alcohol, simply use a rag and wipe down all the surfaces that the sealant will be applied to. Once it is dry, which will happen quickly, you are ready to start applying the sealant.
Reapply Sealant
Now that the surface is cleaned and prepped, it’s time to reapply sealant. The only things you need at this point are a caulk gun and the proper sealant. Take your time and apply a nice, continuous bead of sealant.
The idea is for the point of compromise (crack, seam, etc.) to be in the middle of the bead of sealant and for the edges of the sealant to expand out past the area where water may penetrate. You don’t want to overdo it, but it doesn’t hurt if you get a little extra on there.
How often
Your owner’s manual may have a maintenance schedule that includes the frequency that you should inspect and reapply certain sealants. This is the best piece of reference material you can use to determine what to do and when to do it.
I like to check sealants every 6 months, but once a year would probably be okay as well. However, I’ve suffered extensive water damage before and at this point, I would rather be safe than sorry.
What to use
In addition to providing you a schedule, your owner’s manual may also recommend certain products for you to use during your regular maintenance. This is important because you don’t want to void any warranties that may be in place.
EPDM or TPO
Dicor Self-Leveling Lap Sealant is probably one of the most popular and widely used sealants for EPDM and TPO roofs. Like a good number of lap sealants, this product is not intended for vertical surfaces, so be sure to use it on horizontal surfaces only.
Another good choice for EPDM roofs is Sikaflex 715 semi-leveling sealant. Keep in mind, if you use this sealant, do not apply it over any existing sealants that may be in place. Be sure everything is clean ahead of time.
Tears, Rips, or Weak Spots
For any tears, rips, or compromised edges, another option is to use Eternabond Tape. This can be a good preventative measure if you identify some areas you think may become problematic.
It’s super easy to install and works well. It’s also not a bad idea to keep some in your RV so you can address any issues that may pop up while you are on the road.
Tips
- Brush off any accumulating snow to prevent it from sitting on your RV for long periods of time.
- Broom off any water after rains or give your RV a slight tilt to allow puddling water to drain off.
- Run a dehumidifier if humidity is an issue where you live. If possible, run the excess water into your gray tank and leave the gray water drain slightly open.
- Use an RV cover as much as possible when not using your RV.
Conclusion
With all the above being said, you have to make sure the sealant you are using is compatible with the surface you are putting it on. Ultimately, you will be the one at a financial loss if you use the wrong materials.
However, it is not something that takes much time or effort, and you can easily check and make sure your sealant will work.
If you have any tips or trips that have worked for you, be sure to share them!


